Overview
When you upload files to your site, you typically use the WordPress media library to add images, videos and sounds. However, the following may require an alternative method to upload:
- Large files
- Multiple files simultaneously
- Themes
- manually install / update plugins
You may use an SFTP (Secure File Transfer Protocol) program to upload the files.
Additionally, SFTP offers you an easy way for you to transfer your website’s files between folders.
Prerequisites
Install an SFTP program on your computer. Some well known SFTP programs are:
- Filezilla
- Cuteftp
- Cyberduck
Things to remember about file transfer
- Secure FTP is a safe way of transferring files. It uses the following to protect your data:
- encryption
- separate communication channels
- hashing
- SFTP uses credentials to authenticate users. If your username or password are incorrect, you cannot login to the server.
- There is no limit to the amount of files you can transfer. But you do have limited server space depending upon what plan you purchased. Check your plans terms and conditions for the amount of space available for your site.
Upload a file with SFTP
Follow these steps:
- Login to your My Elementor dashboard.
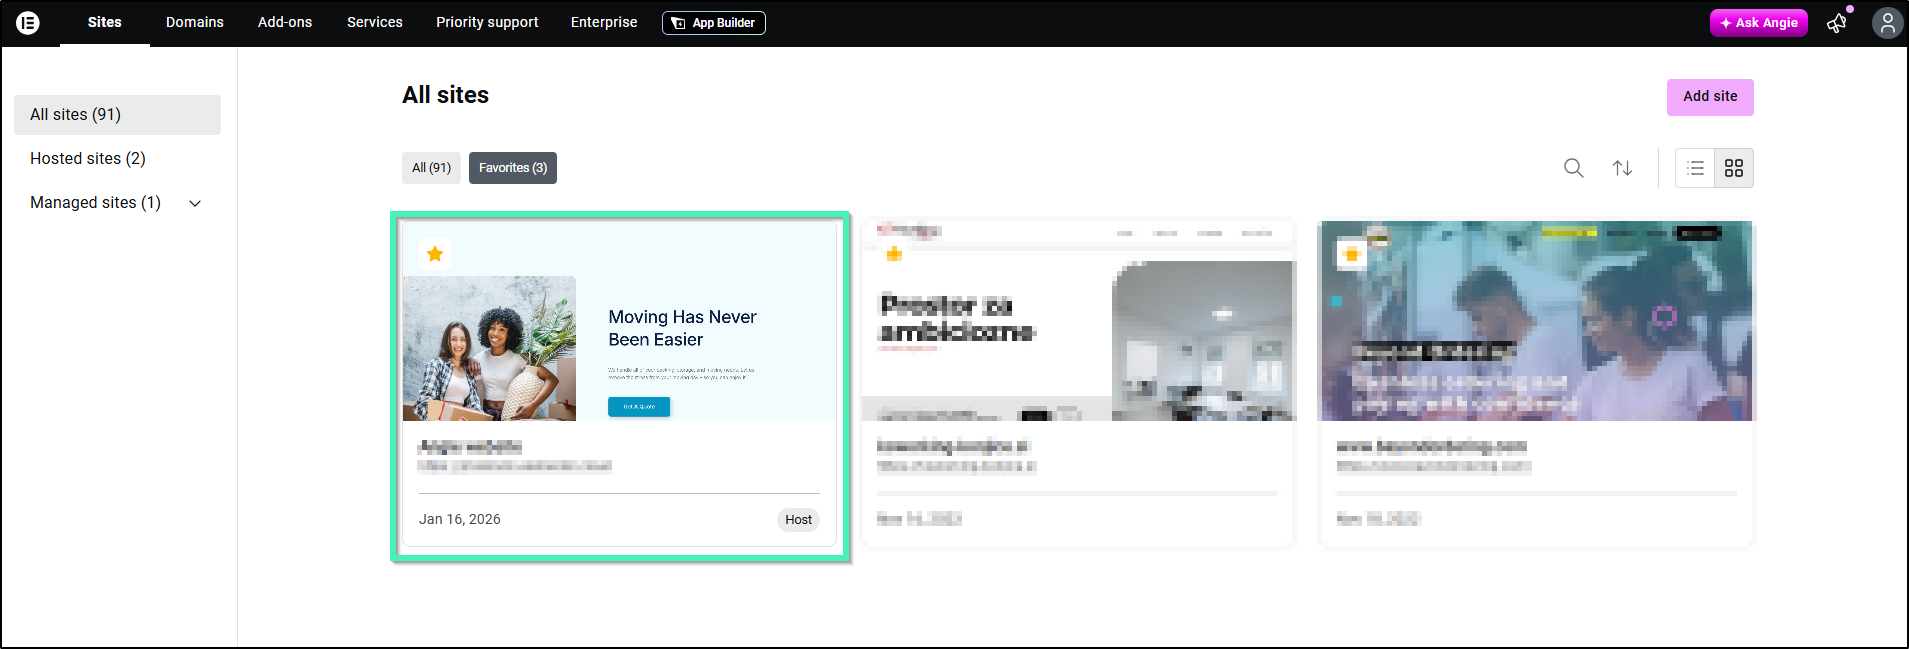
- Click the website card of the site you want to transfer files to.
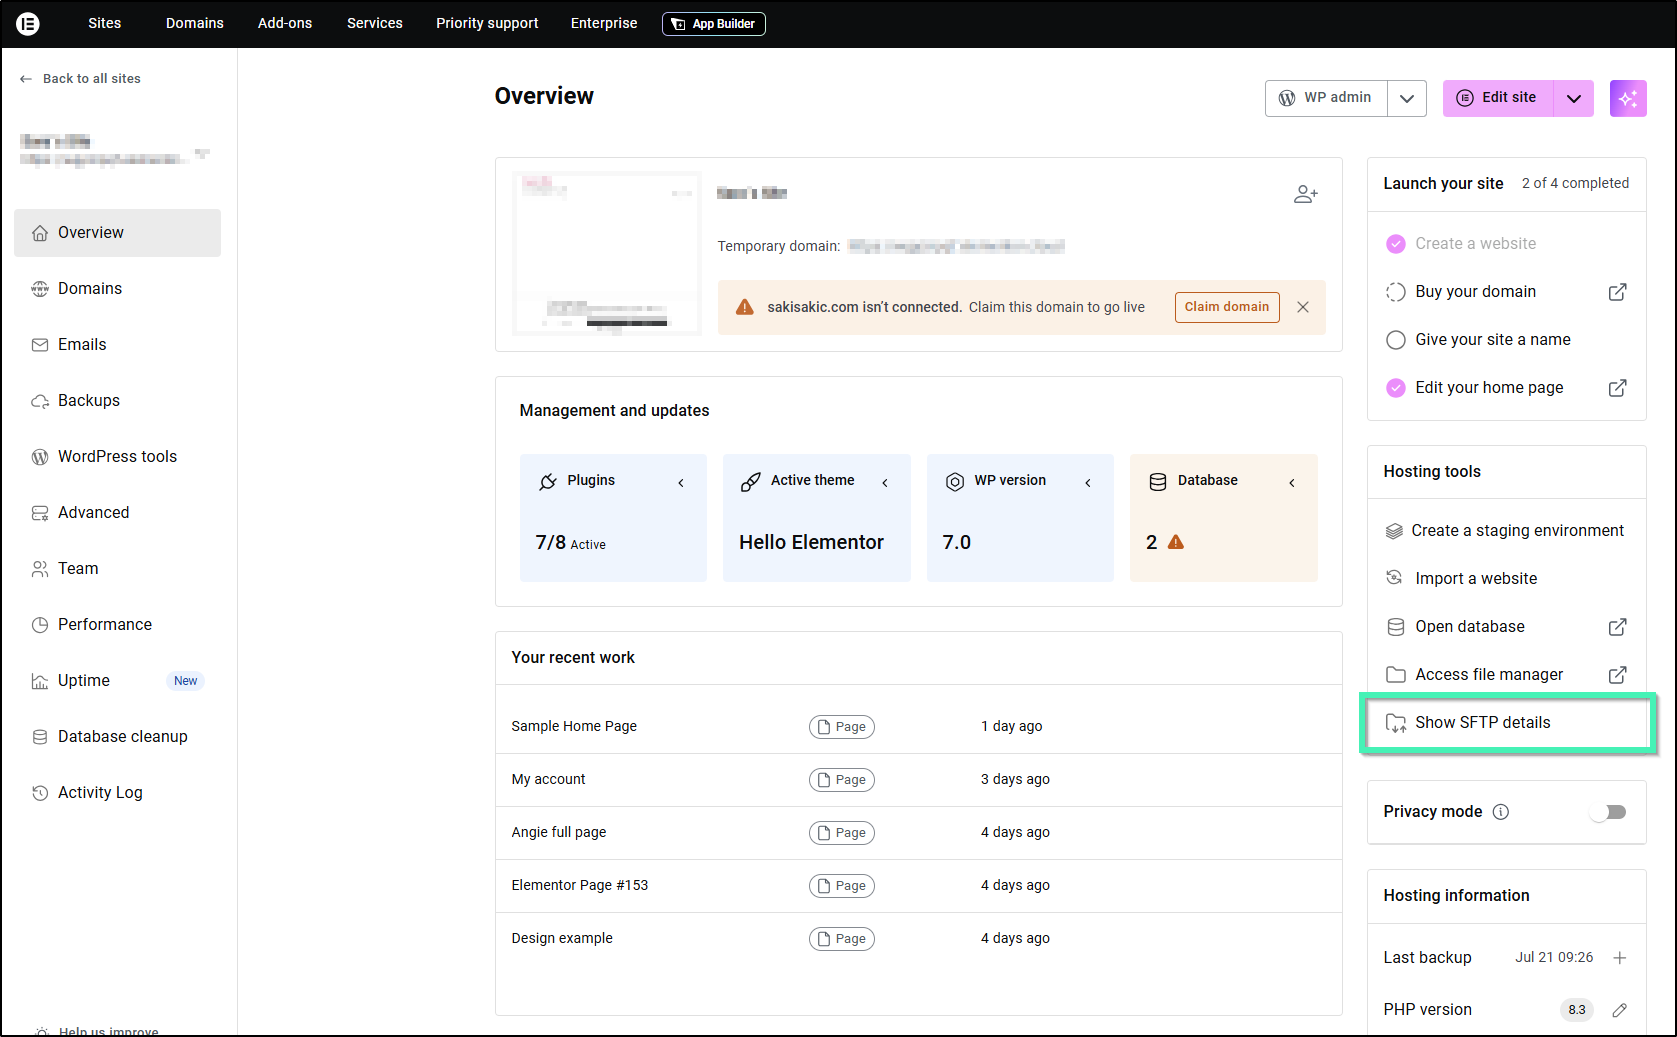
- In the right window, under Hosting tools, click Show SFTP details.
- The SFTP Users screen opens.
- Note the Host and Port shown under Connection details – these are the same for every SFTP user on this site.
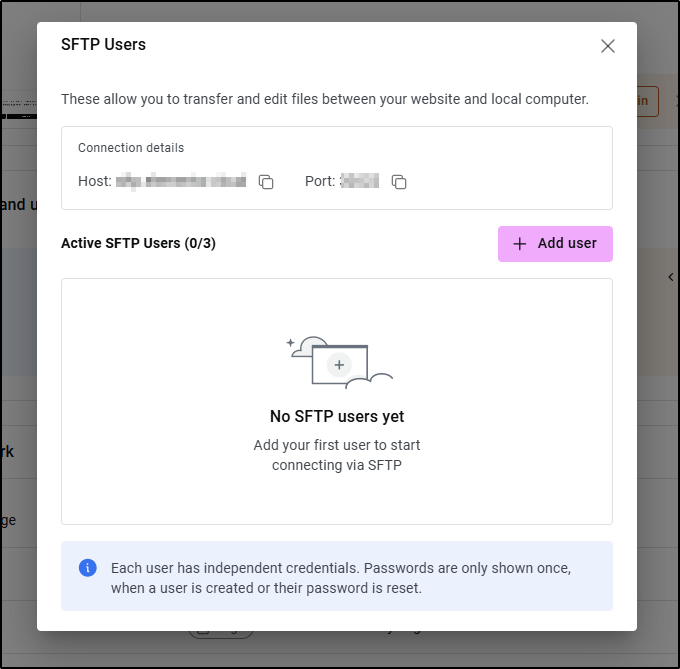
- Click Add user and choose how long the user should stay active before expiring (1 Day, 1 Week, 1 Month, 1 Year, or Never).
- When the user is created, a window shows the username and password. Copy them now, as the password won’t be shown again.
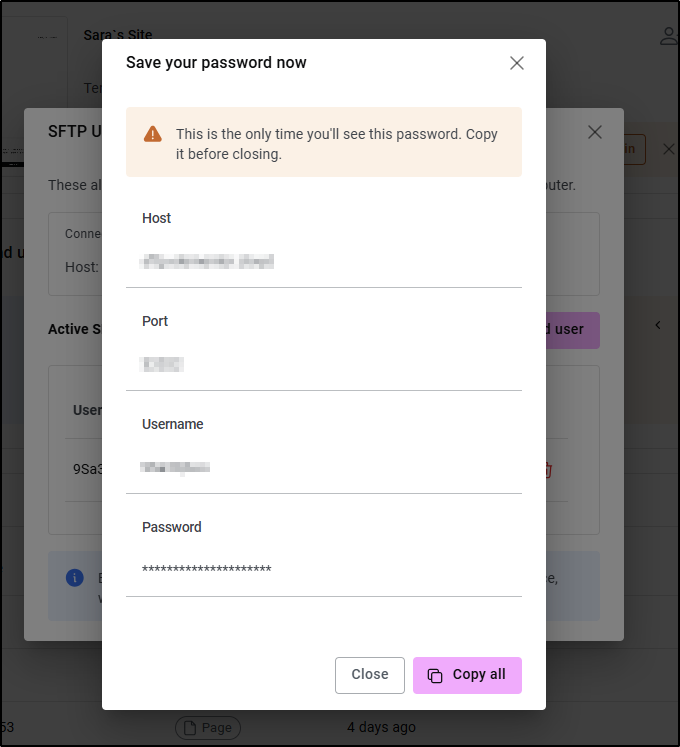
- Open your SFTP program and connect using the Host, Port, username, and password you just created.
- Follow your SFTP program’s instructions to begin transferring files.
Manage SFTP users
From the SFTP Users screen, you can manage existing users:
Reset password – Generates a new password for the user. The old password stops working immediately, and the new one is shown only once – save it before closing the window.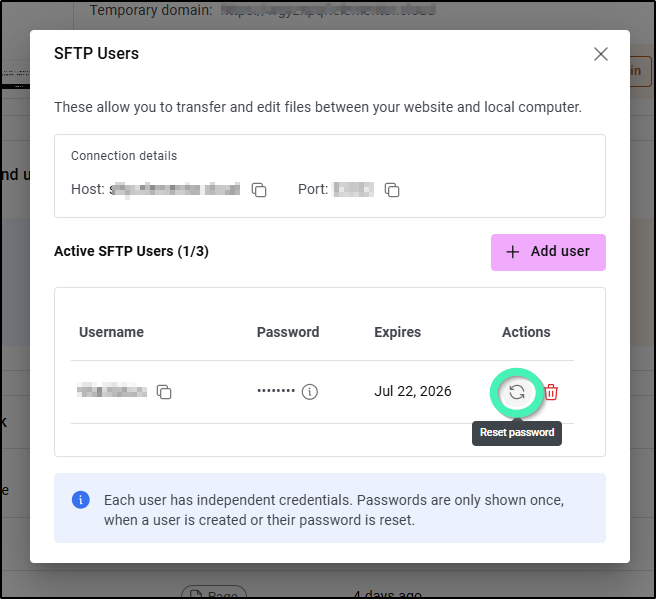
Delete user – Permanently removes the user and revokes its access.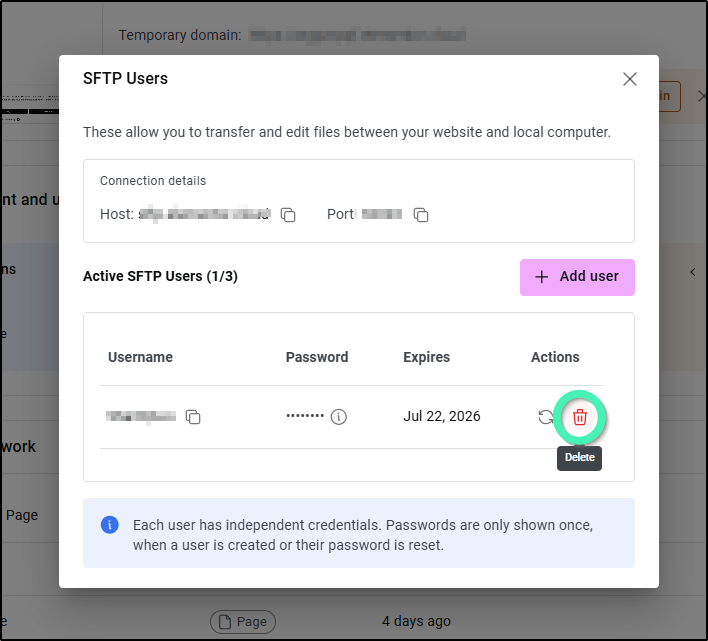
Note: You can have up to 3 SFTP users active per site. To add a new one after reaching the limit, delete an existing user first.