Setting up tracking on a WordPress site used to be simple, but privacy rules have changed that. If you use Google Analytics or Google Ads and reach visitors in the European Economic Area (EEA) or the UK, Google Consent Mode V2 isn’t optional anymore, it’s the baseline for accurate tracking and a compliant site. None of this needs to feel overwhelming, though. We’ll walk through the setup step by step, in plain language.
Key Takeaways
- Google Consent Mode V2 is mandatory for WordPress sites using Google services to reach EEA and UK audiences.
- The setup needs two new consent signals, ad_user_data and ad_personalization, alongside the standard analytics signals.
- Choose between Basic and Advanced implementation models, depending on how you want to handle cookieless pings.
- A native tool like Cookie Consent manages everything right inside your WordPress dashboard.
- Test your setup with Google Tag Assistant to confirm tags only fire after real consent.
What is Google Consent Mode V2 and Why Is It Mandatory?
Google Consent Mode V2 is Google’s framework for helping websites meet strict privacy laws like the EU’s GDPR and the Digital Markets Act (DMA). In the past, declining cookies stopped tracking tags completely, leaving a real gap in the data. Consent Mode closes that gap by passing cookie choices straight to Google’s tags.
Version two exists because the DMA tightened enforcement. Google now needs specific consent signals before using data for advertising or audience building. Skip them, and Google can’t track EU or UK conversions or build remarketing lists.
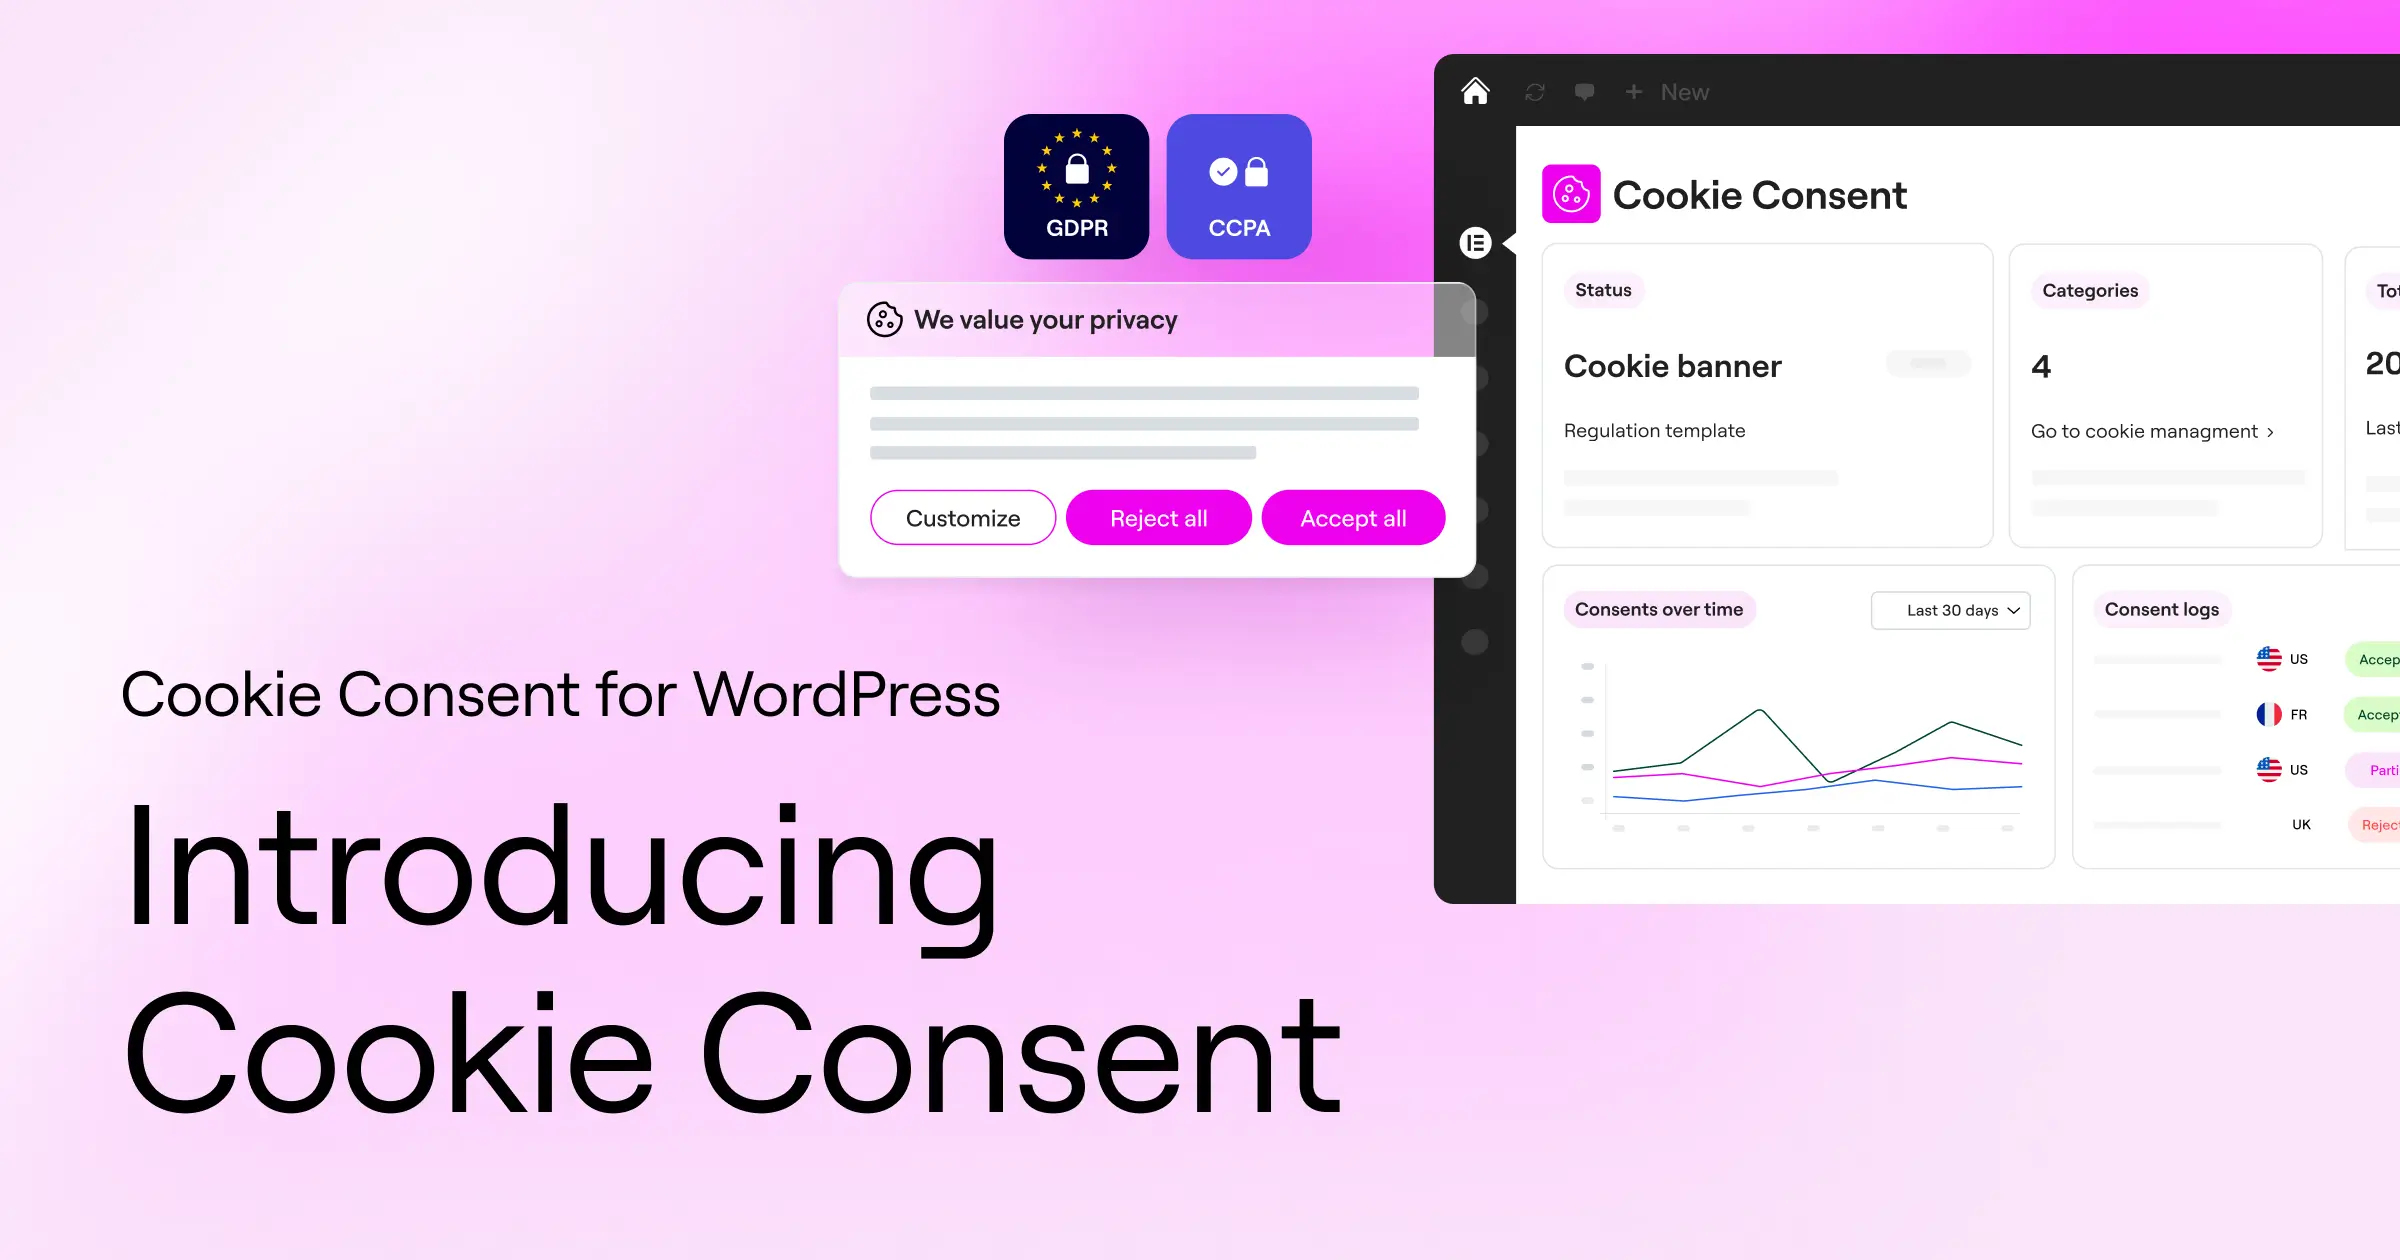
Four signals carry this consent information to Google’s servers:
- ad_storage: Controls whether Google can store advertising cookies on the visitor’s device.
- analytics_storage: Controls whether Google can store analytics cookies to measure traffic and behavior.
- ad_user_data: Determines whether personal data can go to Google for advertising and conversion tracking.
- ad_personalization: Determines whether that data can be used for personalized ads, like remarketing.
The last two signals make version two different, and they trip a lot of people up. (Many assume basic cookie storage covers it, but Google now wants explicit permission before using that data for ad targeting.) Without them, your ad performance in Europe drops, since Google treats unflagged traffic as non-consenting.
Basic vs. Advanced Consent Mode: The Core Differences
Before you touch your WordPress dashboard, decide which model fits your goals. Google offers two ways to run Consent Mode V2, Basic and Advanced, and they treat tracking and compliance differently.
With Basic Consent Mode, tags stay blocked until a visitor interacts with your banner and grants permission. Decline, and no cookies get set and no data reaches Google. It’s the most conservative option, though it leaves a blind spot for every “No” click.
With Advanced Consent Mode, tags load the moment a visitor lands, even before they touch the banner. If they decline, tags send secure, anonymous “cookieless pings” instead of cookies, carrying basic details like device type, browser, and country. Google runs this through machine learning to model conversions and recover a meaningful share of that lost data.
| Feature | Basic Consent Mode | Advanced Consent Mode |
|---|---|---|
| Tag Loading | Tags only load after explicit consent is given. | Tags load immediately and adjust behavior based on consent. |
| Data Sent (Consent Denied) | No data or pings are sent to Google. | Anonymous, cookieless pings are sent to Google. |
| Conversion Modeling | Very basic modeling based on overall trends. | Detailed machine learning conversion modeling in Google Ads and GA4. |
| Compliance Risk | Extremely low, as no scripts run without consent. | Low, but requires a transparent privacy policy explaining cookieless pings. |
| Setup Complexity | Moderate, requires strict tag blocking triggers. | Slightly higher, requires tags to adapt dynamically. |
Which model you pick comes down to your legal team’s read on privacy guidelines and how much tracking precision you need. Plenty of owners like Basic for its simplicity, while marketers often prefer Advanced for sharper attribution.
Prerequisites for a Successful Setup
Before we get into configuration, let’s make sure you’ve got everything ready so you avoid headaches later. (It’s simpler than it sounds.)
Here’s what you’ll need:
- WordPress Admin Access: Administrator privileges to install or change settings.
- A Google Tag Manager Container: A working GTM account connected to your site makes managing tags easier.
- An Active Google Analytics 4 Property: Your GA4 measurement ID needs to be live and ready.
- A Google Ads Account: If you run ads, keep your conversion tracking IDs handy.
- A Compliant Consent Tool: Something capable of reading and sending Consent Mode V2 signals.
When picking a consent tool, a WordPress-native option like Cookie Consent from Elementor is a smart move. It handles banners, cookie scanning, and consent logs right inside your dashboard, keeping page speed fast. Also worth checking: make sure your Google tags run the latest gtag.js version, since older scripts don’t support these signals.
Implementing Google Consent Mode V2 isn’t just a technical recommendation anymore. It’s the baseline for digital marketing in privacy-conscious regions, and sites that don’t adapt end up with real blind spots in their analytics and ad campaigns.
Itamar Haim, Web Compliance Specialist
Step-by-Step Guide: Configuring Google Consent Mode V2 on WordPress
With your prerequisites ready, here’s how to get Google Consent Mode V2 running on WordPress, using a native cookie consent tool alongside Google Tag Manager.
Step 1: Run an Automatic Cookie Scan
Before asking for consent, you need to know what cookies your site actually sets. Plenty of WordPress plugins quietly install trackers for analytics, security, or social sharing. An automatic scan sorts these into essential, analytical, and marketing buckets. Inside your Cookie Consent tool, run a full audit and check the results.
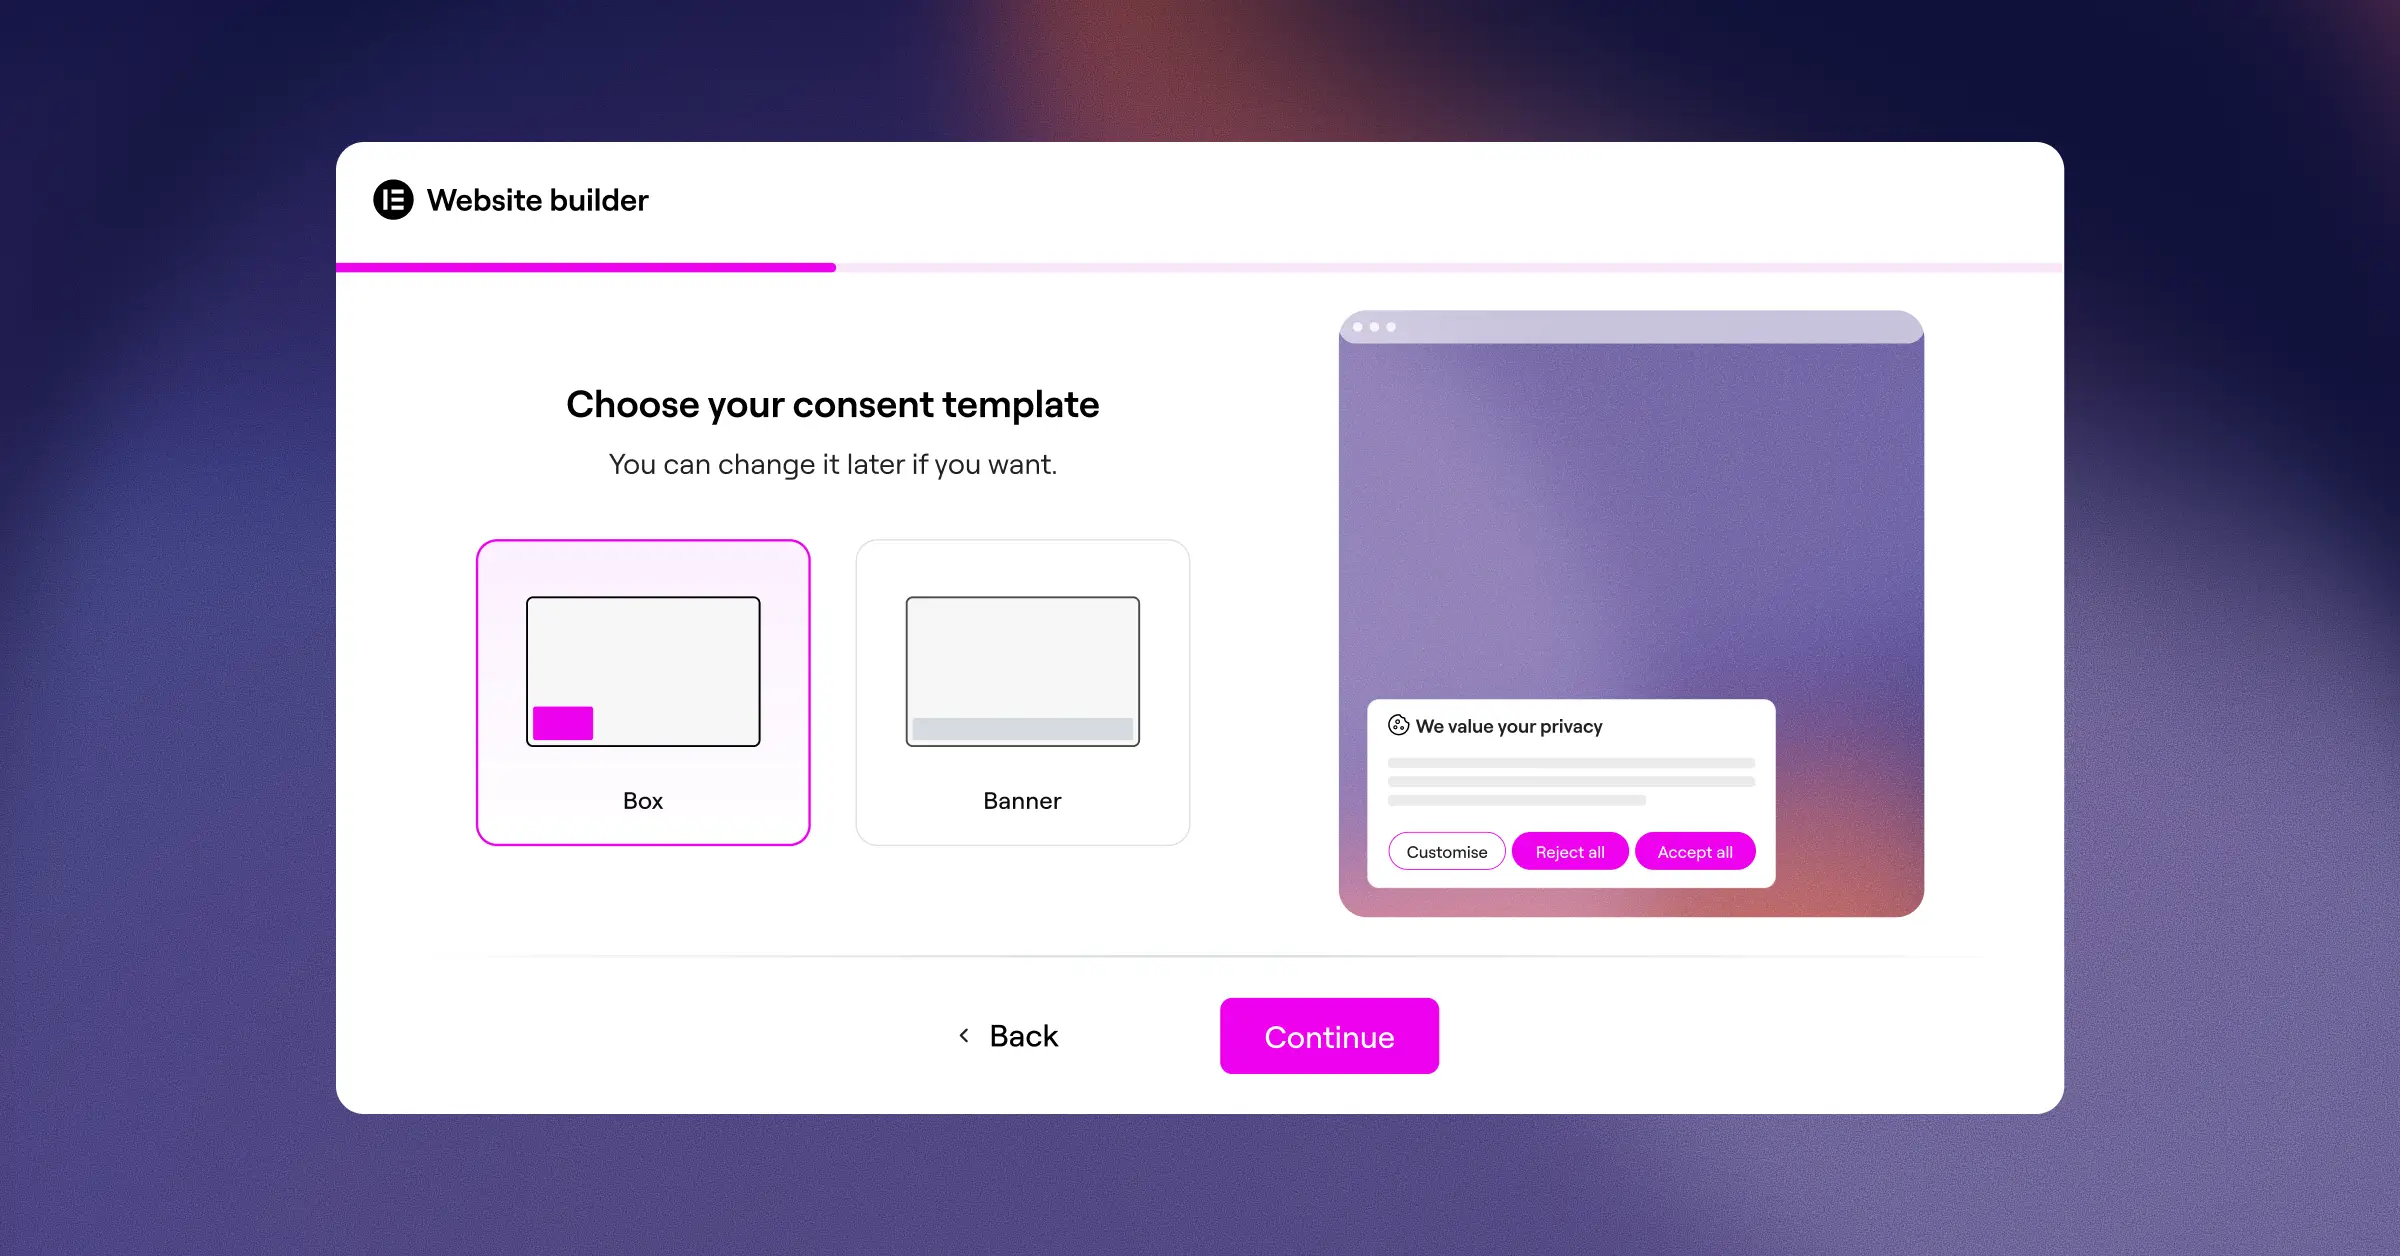
Step 2: Create and Design Your Consent Banner
Next, design a clear banner matching your site’s branding. Give visitors a real choice: accept all, reject all, or customize. Skip deceptive tricks like shrinking the “Reject” button, both options should stay equally visible. Inside Cookie Consent, match your colors, fonts, and button styles, and keep the layout responsive.
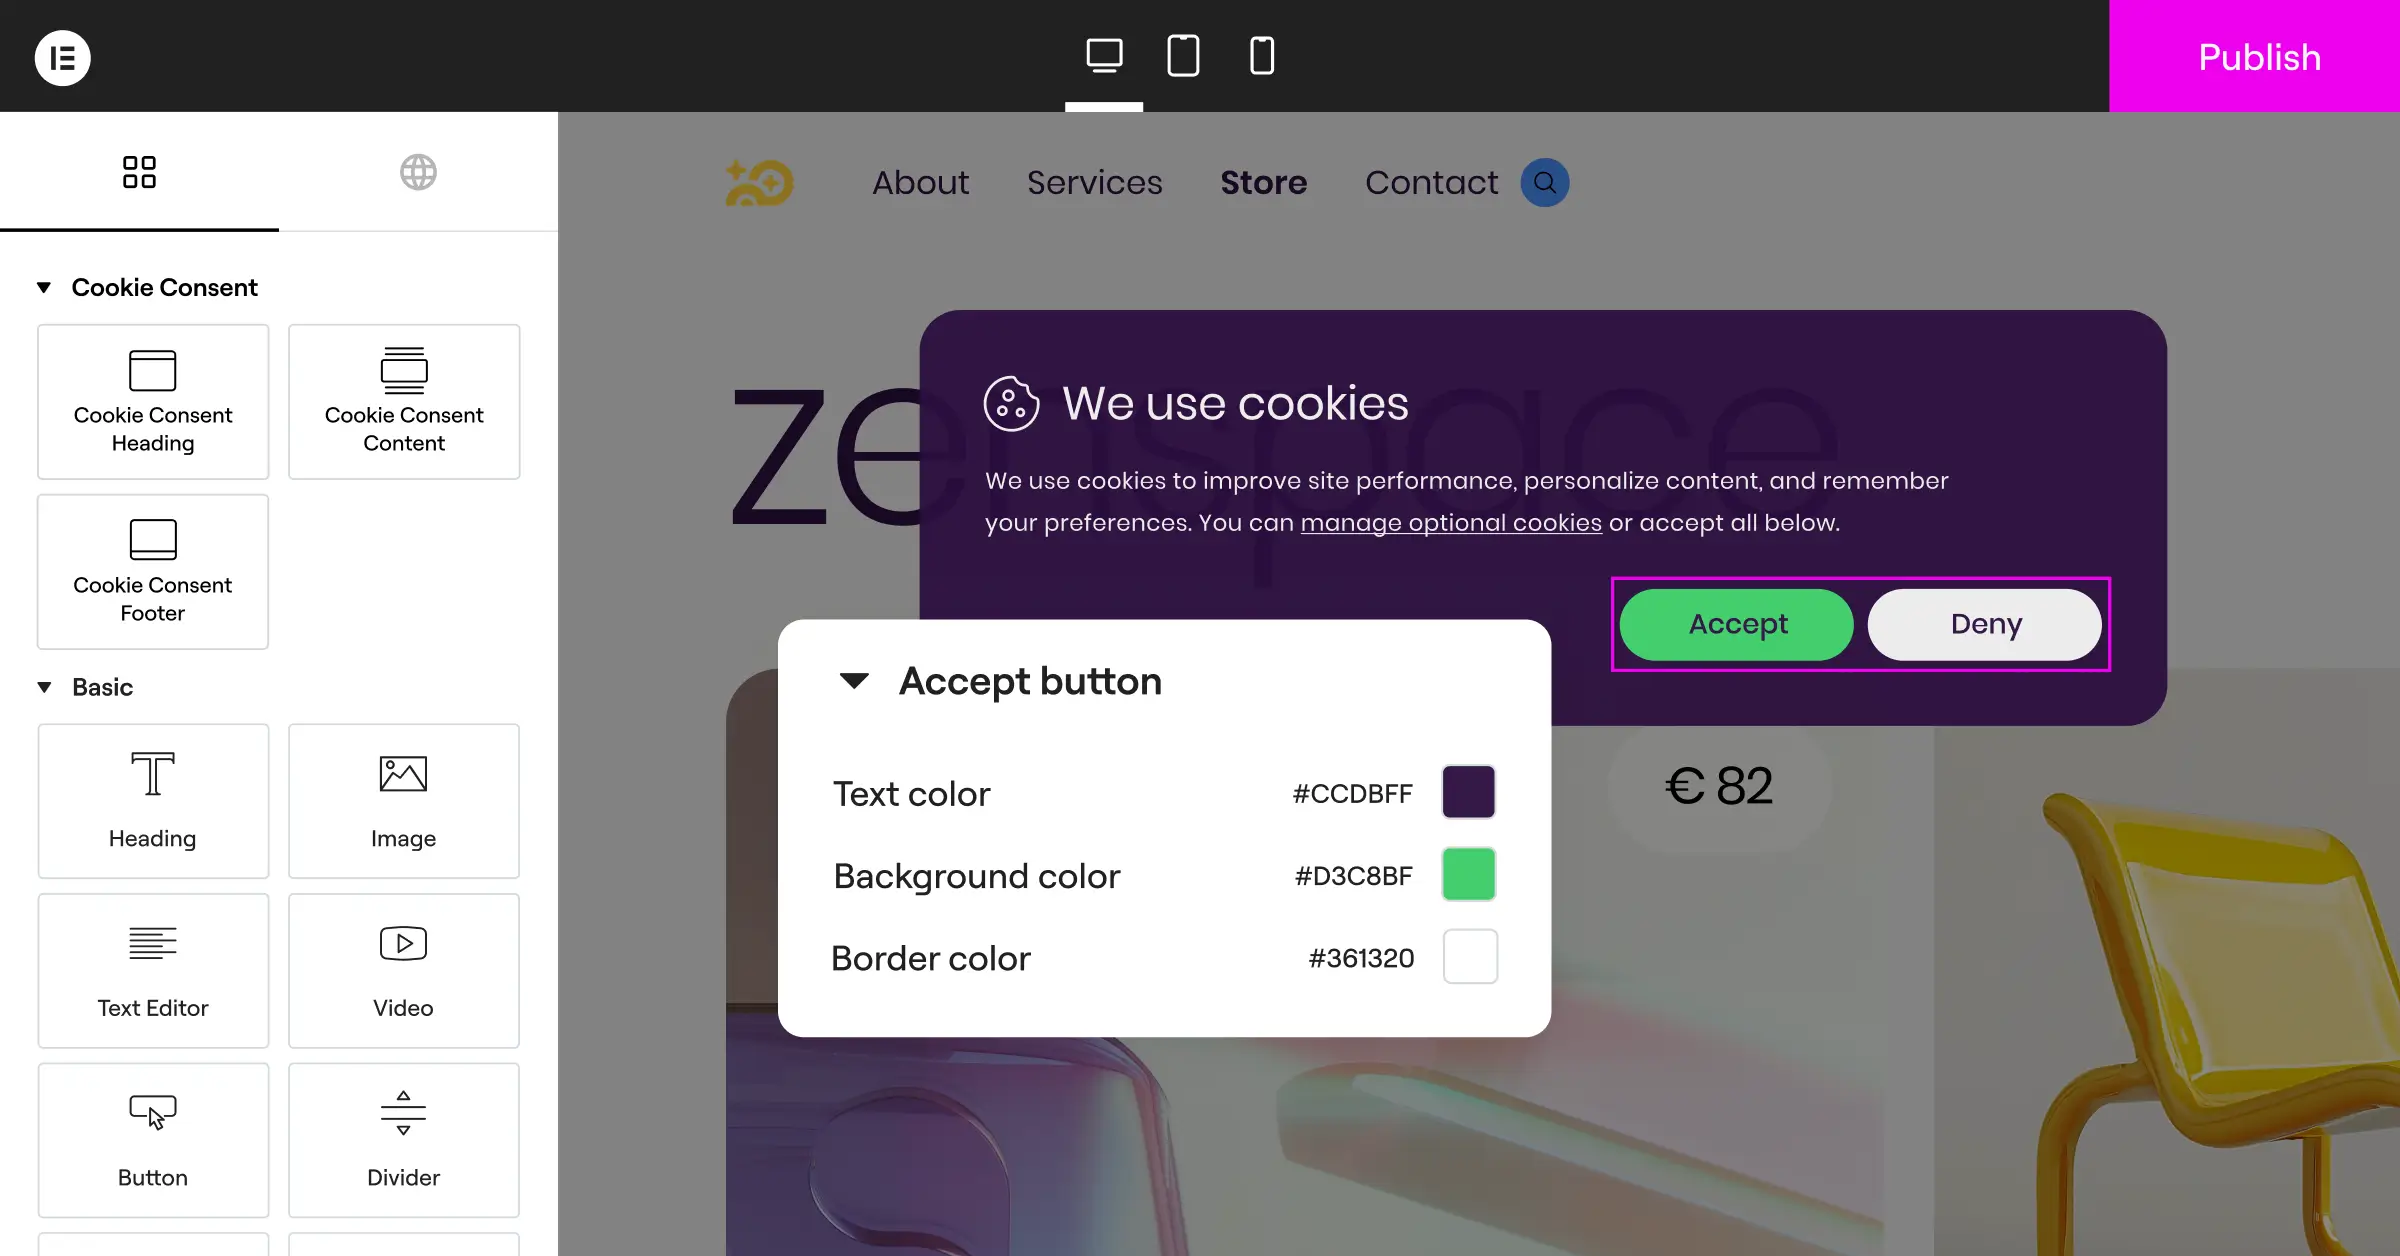
For the copy, keep it clear and friendly. Here’s a solid example of standard, compliant banner text:
“We use cookies to improve your browsing experience, analyze site traffic, and serve personalized ads. By clicking ‘Accept All’, you consent to our use of cookies. You can manage your preferences or change your settings at any time.”
Step 3: Define Your Default Consent States
To meet GDPR, your site needs to block non-essential tracking by default until a visitor opts in, so marketing and analytics parameters start “denied.” A modern consent tool sets these defaults directly, injecting a script that tells Google’s servers consent is denied. The moment someone clicks “Accept,” those states flip to “granted” and normal tracking kicks in.
Step 4: Enable Consent Mode V2 Integration
In your Cookie Consent settings dashboard, switch on the “Google Consent Mode V2” toggle. It writes the required JavaScript to your header automatically, translating banner choices into the ad_user_data, ad_personalization, analytics_storage, and ad_storage signals Google needs. No custom code required.
Step 5: Configure Google Tag Manager Settings
If you use Google Tag Manager to handle your scripts, make sure it respects incoming consent signals. Here’s the process inside your GTM container:
- Go to your GTM Container Settings, check Enable consent overview, and save.
- Open your Google Analytics 4 configuration tag or your Google Ads conversion tag.
- Scroll to Advanced Settings and open Consent Settings.
- Select Require additional consent for tag to fire, and specify which types (like
analytics_storageorad_storage) that tag needs. - Save the tag and test.
This works as an internal gatekeeper inside GTM. Even if a trigger tells a tag to fire, Tag Manager blocks it whenever the matching consent parameter reads “denied,” a solid safety net against compliance leaks.
Step 6: Handle Third-Party Script Blocking
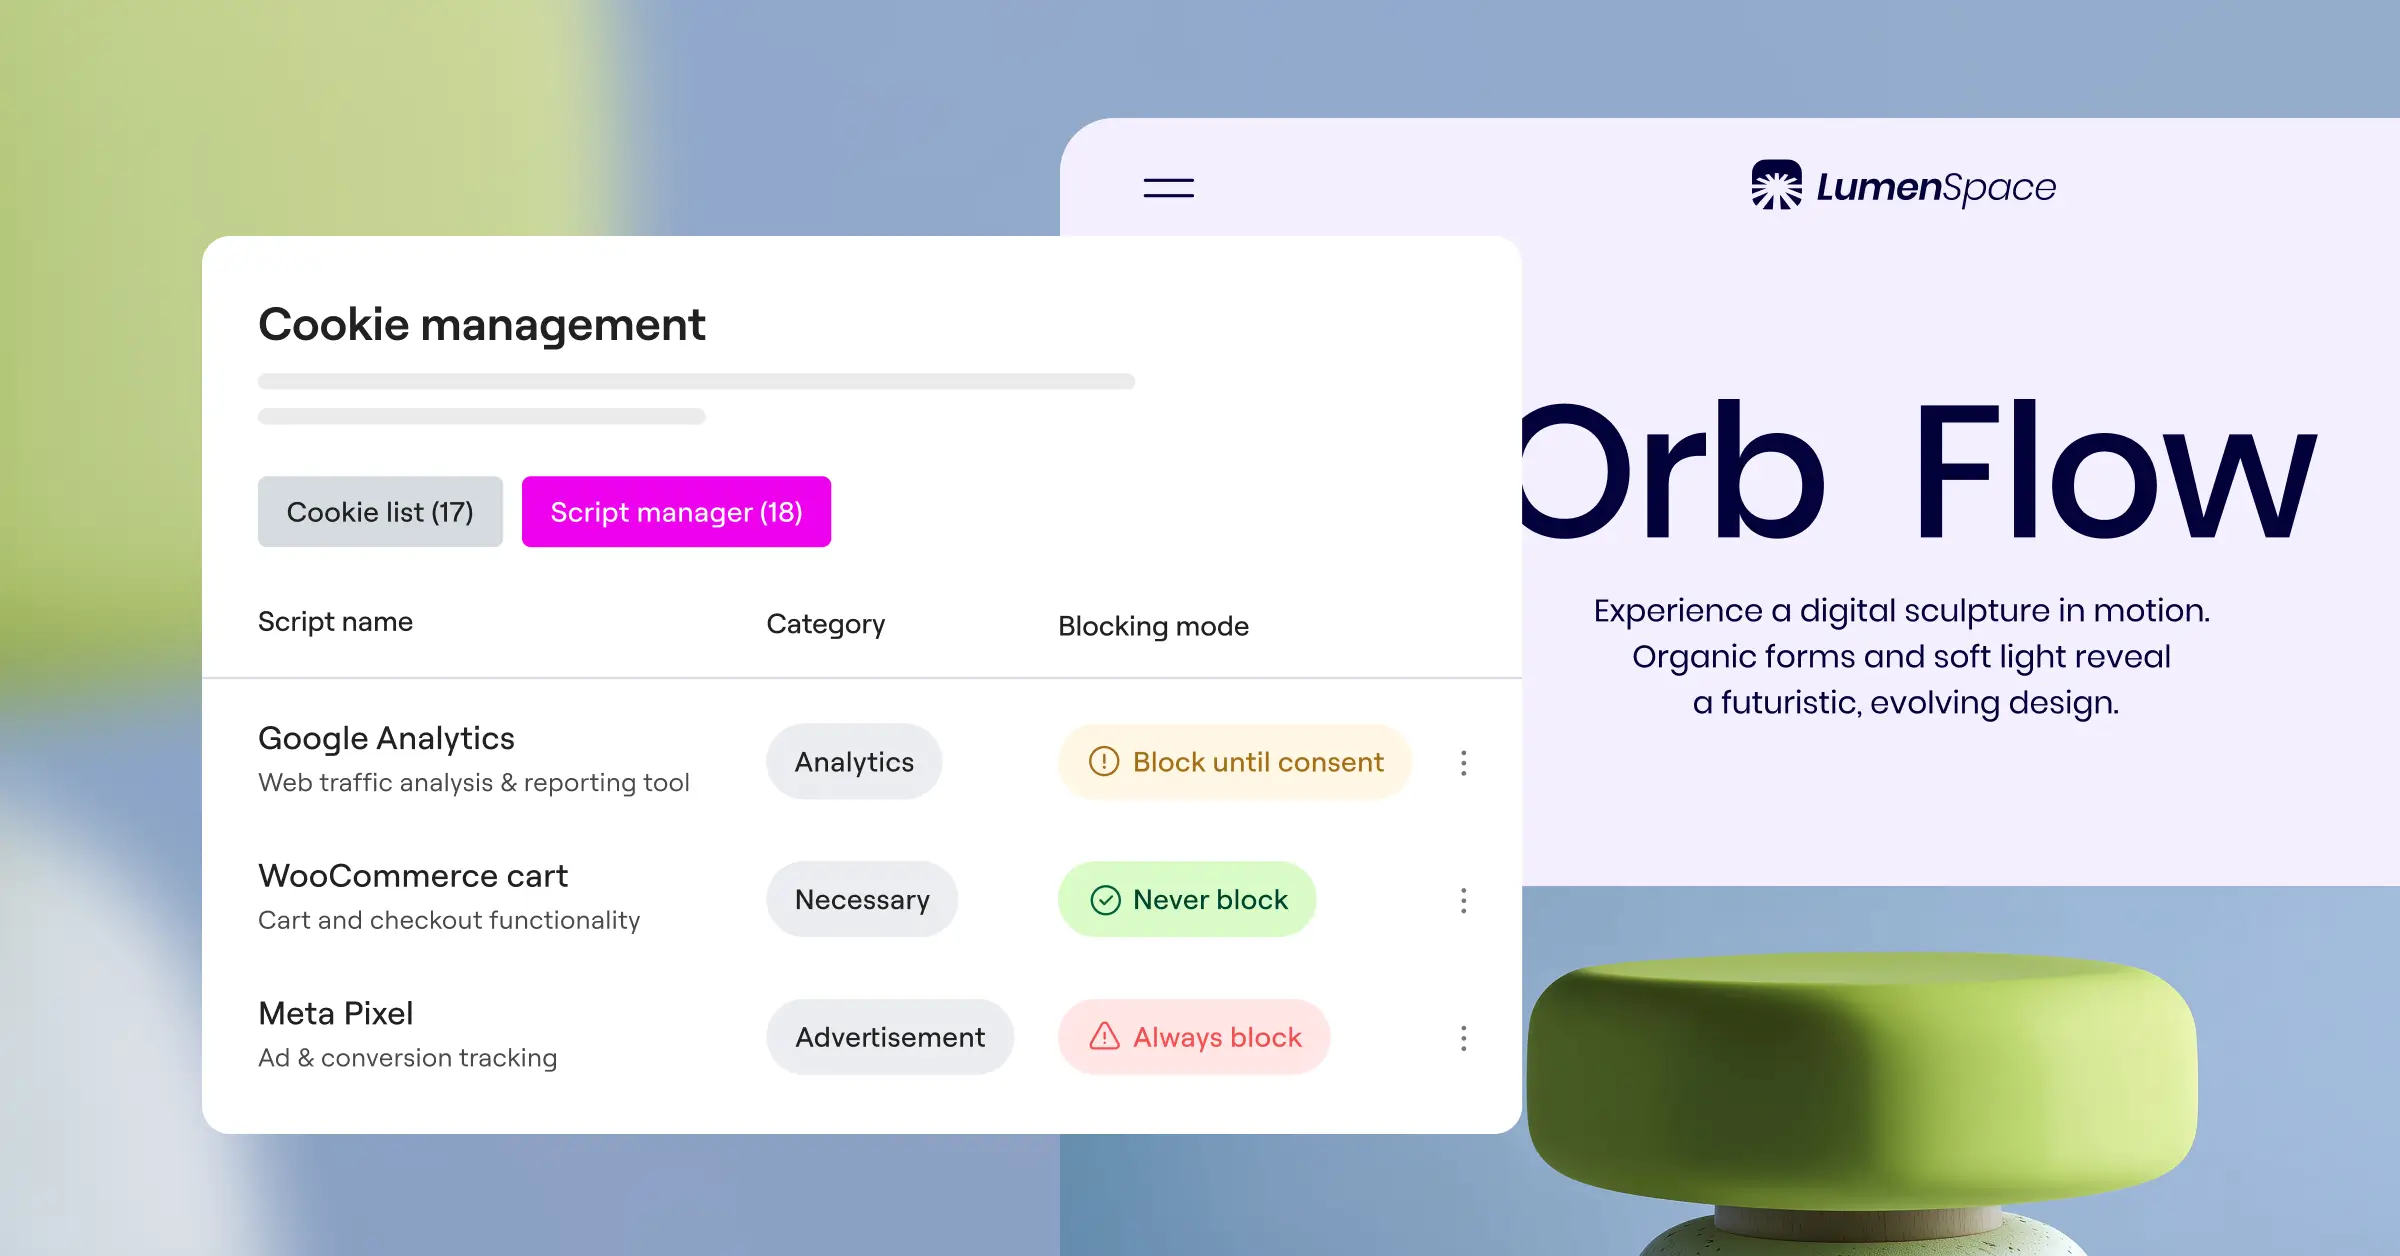
Google tags are the main focus of Consent Mode V2, but your site probably runs other scripts too, like the Meta Pixel, Pinterest tags, or Hotjar. Tie those to your banner as well. Most solid consent tools let you wrap third-party scripts in simple helper functions or assign them to categories like “Marketing” or “Analytics” right from your dashboard, so nothing fires outside what the visitor chose.
Testing and Verifying Your Consent Mode V2 Setup
Once Consent Mode is configured, verify it actually works before you publish live. Skipping this is one of the most common reasons sites fail privacy audits. Luckily, Google gives you solid debugging tools to check your work.
To verify your setup, use Google Tag Assistant. Here’s how:
- Go to Google Tag Assistant and enter your website’s URL to start a debugging session.
- A new window opens showing your site with the consent banner visible. Don’t interact with the banner yet.
- Back in Tag Assistant, select the first Consent Initialization or Page View event in the left-hand menu.
- Click the Consent tab at the top. Every parameter’s On-page Default should read “Denied.”
- Go back to your website and click “Accept All” on the banner.
- Return to Tag Assistant, select the most recent event, and check the Consent tab again. The On-page Update column should now show “Granted” for every category.
If those values shift from denied to granted, your setup is working. Run a second test with “Reject All” to confirm the parameters stay denied and no cookies appear in your developer tools. Once everything checks out, publish your GTM container and save your WordPress settings.
Managing Regional Rules and Consent Logs
Privacy rules aren’t the same everywhere. The EU enforces strict “opt-in” rules that block tracking by default, while the US leans toward “opt-out,” where tracking runs until a visitor says otherwise. Showing a strict European banner to a visitor from Texas can hurt their experience and cost you data for no reason.
A good cookie consent tool offers geo-targeting capabilities to handle this. It reads the visitor’s location from their IP address and serves the right banner for their region. EU visitors get a strict GDPR-compliant banner with everything off by default, while visitors elsewhere might see a lighter notice or nothing at all.
Beyond the banner, you need to prove you’re honoring those choices if a data protection authority ever audits you. That means keeping secure, anonymous consent logs, which should record:
- Anonymized IP Address: Confirms the general location without storing personal identifying data.
- Timestamp: The exact date and time the visitor made their choice.
- Consent State: Which categories the visitor accepted or rejected.
- Consent ID: A unique, randomized identification number tied to that specific session.
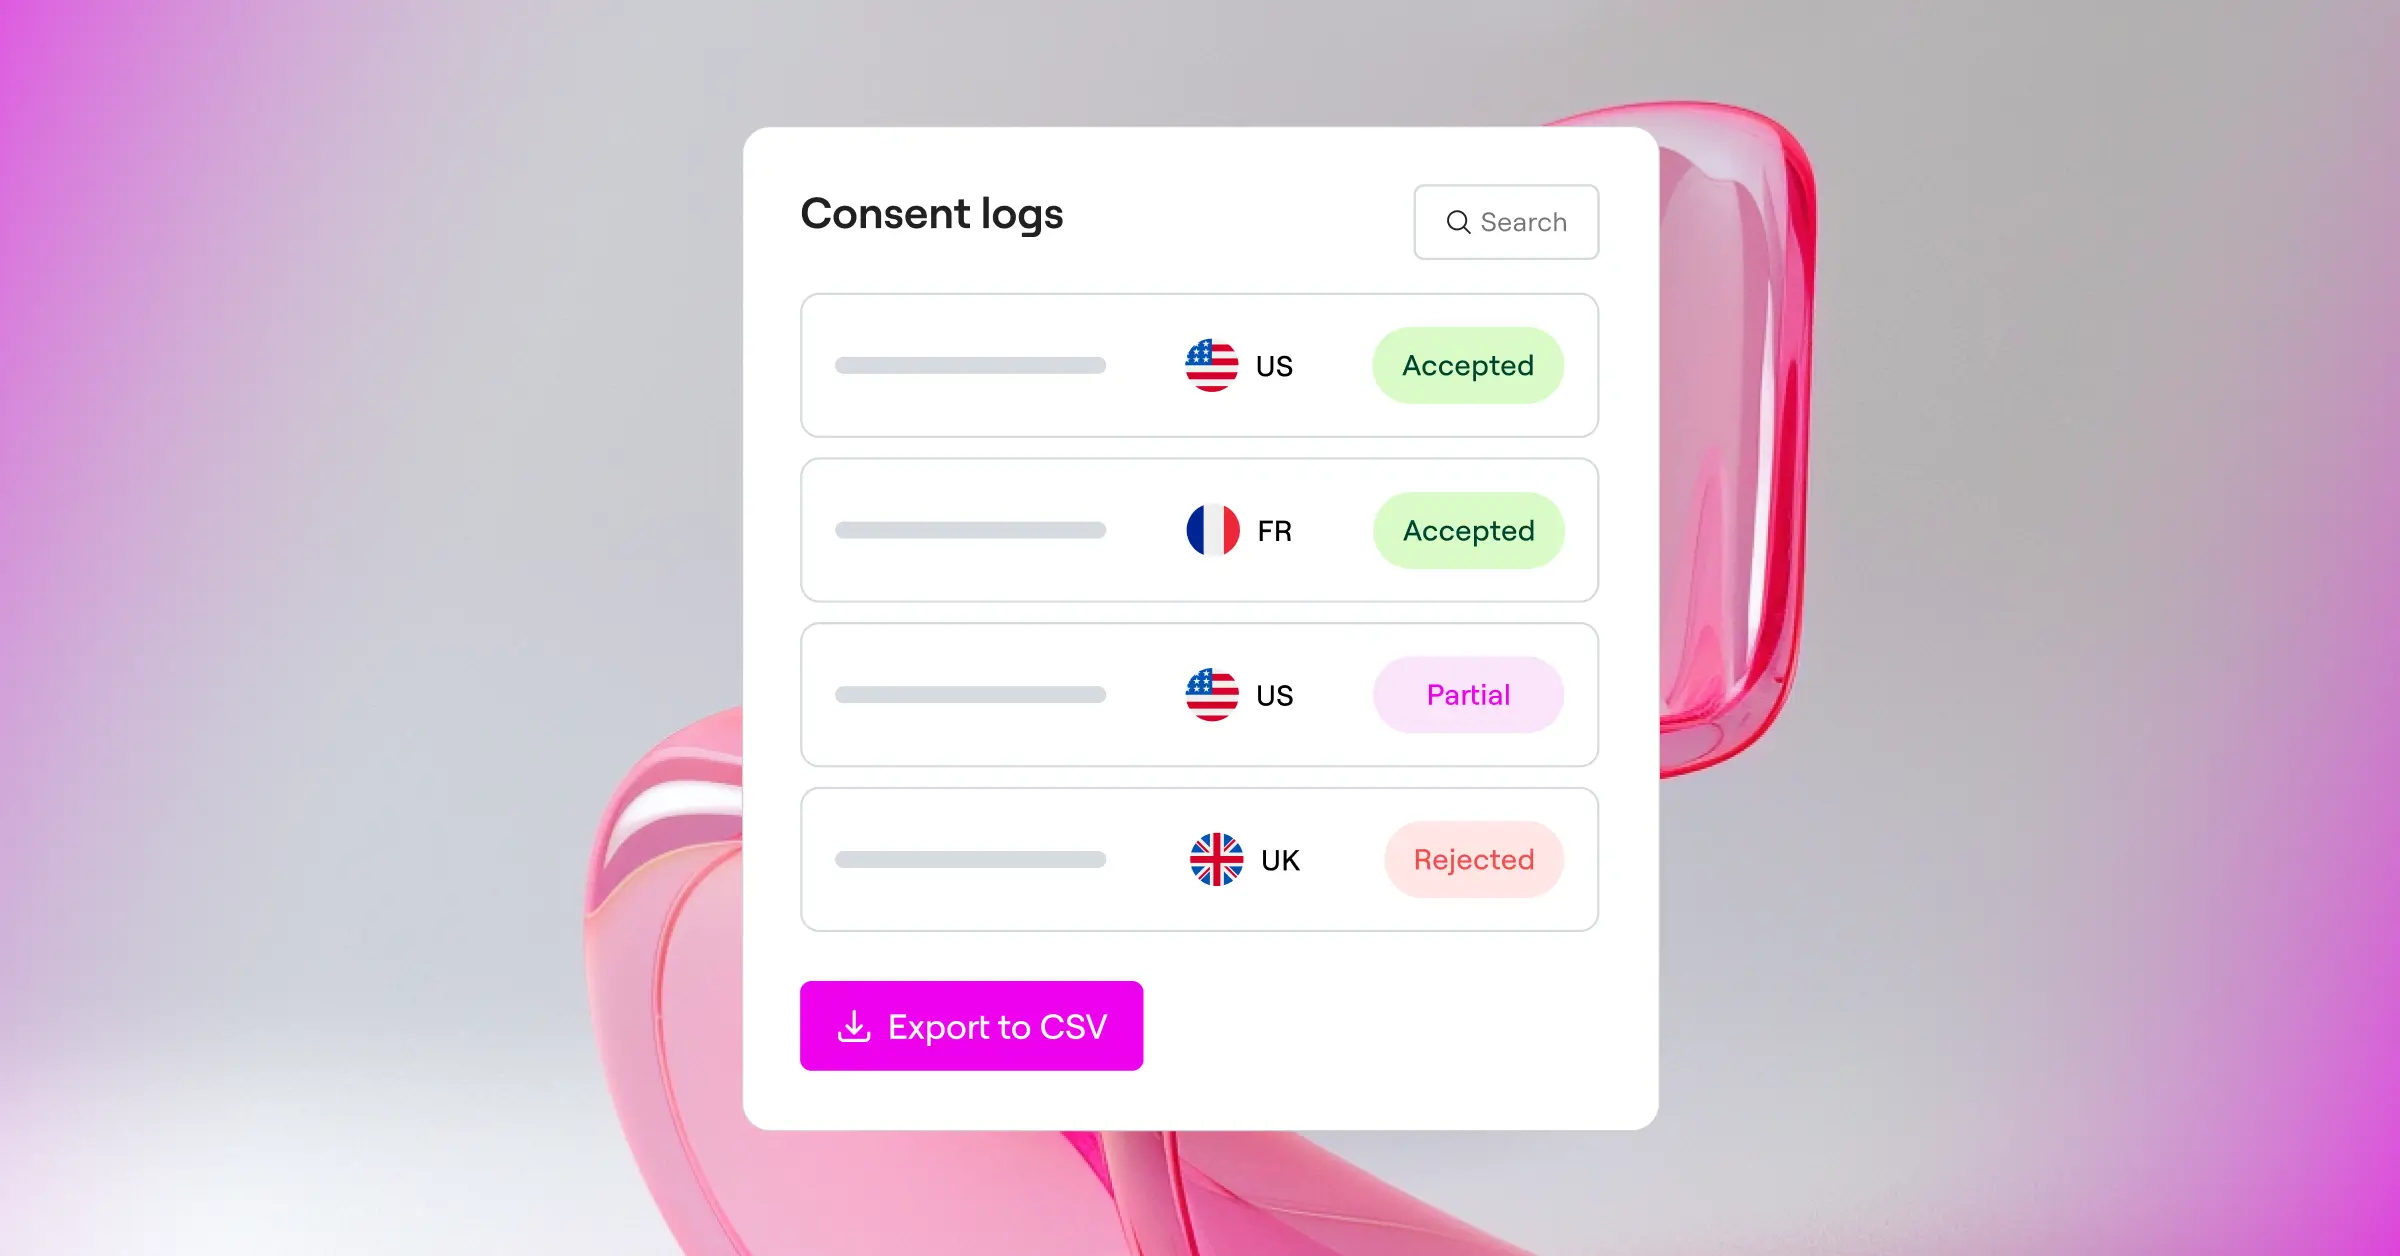
Using the Cookie Consent capability built into the Elementor ecosystem makes this easy. Since it’s WordPress-native, your logs save right inside your own database, no pricey external service, no third-party leaks to worry about.
Comparing WordPress Methods for Consent Mode V2
There’s more than one path to implementing Consent Mode V2 on WordPress. Here’s a quick comparison of the three main methods.
| Method | Implementation Effort | Speed Performance | Features Included | Best For |
|---|---|---|---|---|
| WordPress-Native Tools (e.g. Cookie Consent) | Low (Under 5 minutes) | Excellent (No external cloud script bloat) | Auto-scanning, styling, GTM bridge, local logs, geo-targeting. | Site owners and agencies wanting a fast, simple, and self-hosted setup. |
| External Cloud SaaS Widgets | Moderate (Requires external scripts) | Variable (Can slow down page load times) | High compliance features, but settings are split across different sites. | Large enterprises managing compliance across dozens of different platforms. |
| Custom Theme Coding (Gtag.js) | High (Requires developer skills) | Excellent (Minimal clean code) | None, you must write all banner designs and tracking variables yourself. | Advanced developers who want complete control and have hours to code. |
For most WordPress site owners, a native tool like Cookie Consent strikes the right balance. It skips the page-load penalty of heavy external widgets and spares you from writing hundreds of lines of custom code in your theme’s functions.php file, and it keeps compliance genuinely low-stress.
Frequently Asked Questions
What happens if I don’t configure Google Consent Mode V2 on my WordPress site?
Skip Google Consent Mode V2, and Google disables your ability to track conversions or build remarketing lists for EEA and UK audiences. Your Ads campaigns underperform since the algorithms lack the data to optimize targeting, and GA4 reports show inaccurate numbers for European traffic.
Do I need Google Tag Manager to use Google Consent Mode V2?
No, you don’t strictly need GTM, though it makes management easier. Without it, your consent tool can inject the required gtag.js code directly into your site header, no GTM setup needed.
What is the difference between ad_user_data and ad_personalization?
These two parameters cover different parts of Google’s advertising features. ad_user_data determines whether you can send user-specific data, like an email or phone number, to Google for conversion tracking. ad_personalization determines whether that data can serve the person targeted ads later, which matters for remarketing.
Is Google Consent Mode V2 required for US-only websites?
If your site only targets US visitors and blocks EEA and UK traffic, Google doesn’t strictly require Consent Mode V2 yet. But US states keep passing their own privacy laws, including the CCPA/CPRA in California, so setting up now keeps your site ready and builds visitor trust.
How does Advanced Consent Mode model missing data?
When a visitor declines consent under Advanced Consent Mode, your tags send anonymous cookieless pings instead of storing cookies. Google compares these against historical data from consenting visitors, then uses machine learning to model the missing behavior and restore reporting insight in GA4 and Google Ads.
Will implementing Consent Mode V2 slow down my WordPress site?
It depends on the tools you use. A heavy external SaaS widget adds cloud API calls that can slow scripts and hurt PageSpeed scores. A WordPress-native capability like Cookie Consent from Elementor runs scripts locally from your own server, keeping your site fast.
What are the primary indicators of a broken Consent Mode setup?
The clearest sign is a “consent not detected” warning in Google Ads diagnostics or GA4 stream status. During testing, watch for Tag Assistant showing default consent as “granted” before any visitor interacts with your banner, meaning cookies are dropping before consent is given, a real compliance risk.
Do I still need a privacy policy page if I set this up?
Yes, absolutely. Consent Mode V2 is a technical mechanism for passing choices to Google, not a substitute for your legal obligations. You still need a privacy policy and cookie policy explaining how you collect data, which cookies you use, what cookieless pings are, and how visitors can manage or revoke consent.
How often should I scan my WordPress site for new cookies?
Run a cookie scan at least once a month, or any time you install a new plugin. Plugins often add trackers quietly, like social sharing buttons or spam prevention tools. Regular scans keep your banner categorizations accurate and compliance solid.