Setting up privacy compliance on your WordPress site can feel like decoding a foreign language, but it’s more manageable than it looks. Privacy rules like GDPR and CCPA now touch nearly every site, including small blogs and modest shops, and getting this right in 2026 is really about earning your visitors’ trust. Here are ten practices that get your site compliant, visitor-friendly, and worry-free.
Key Takeaways
- Dashboard-native tools keep your workflow simple by holding every cookie setting right inside WordPress.
- Google Consent Mode v2 matters if you use Google services and reach visitors in the European Union.
- Auto-scanning keeps your cookie list accurate without constant manual checks.
- Geo-targeting banners mean you only show consent prompts to visitors who actually need them.
- Consent logs give you a secure audit trail proving your site respects visitor choices.
Understanding Cookie Consent in 2026
Before we get into setup, it helps to know why cookies matter right now. The moment a visitor lands on your site, scripts kick off behind the scenes, tracking behavior, remembering cart items, serving ads. Privacy laws worldwide now require permission before any of these land on a visitor’s device.
But regulators are far more active these days, and old-school banners that don’t actually block scripts won’t cut it anymore. You don’t need a law degree to get this right, just a reliable system that does the heavy lifting for you. (Once it’s set up, the whole thing runs on autopilot.)
Practice 1: Use a Dashboard-Native Compliance Solution
Picking a way to manage visitor privacy choices matters. Older solutions push you toward external cloud services: separate accounts, long code snippets, settings managed elsewhere. That slows your workflow down.
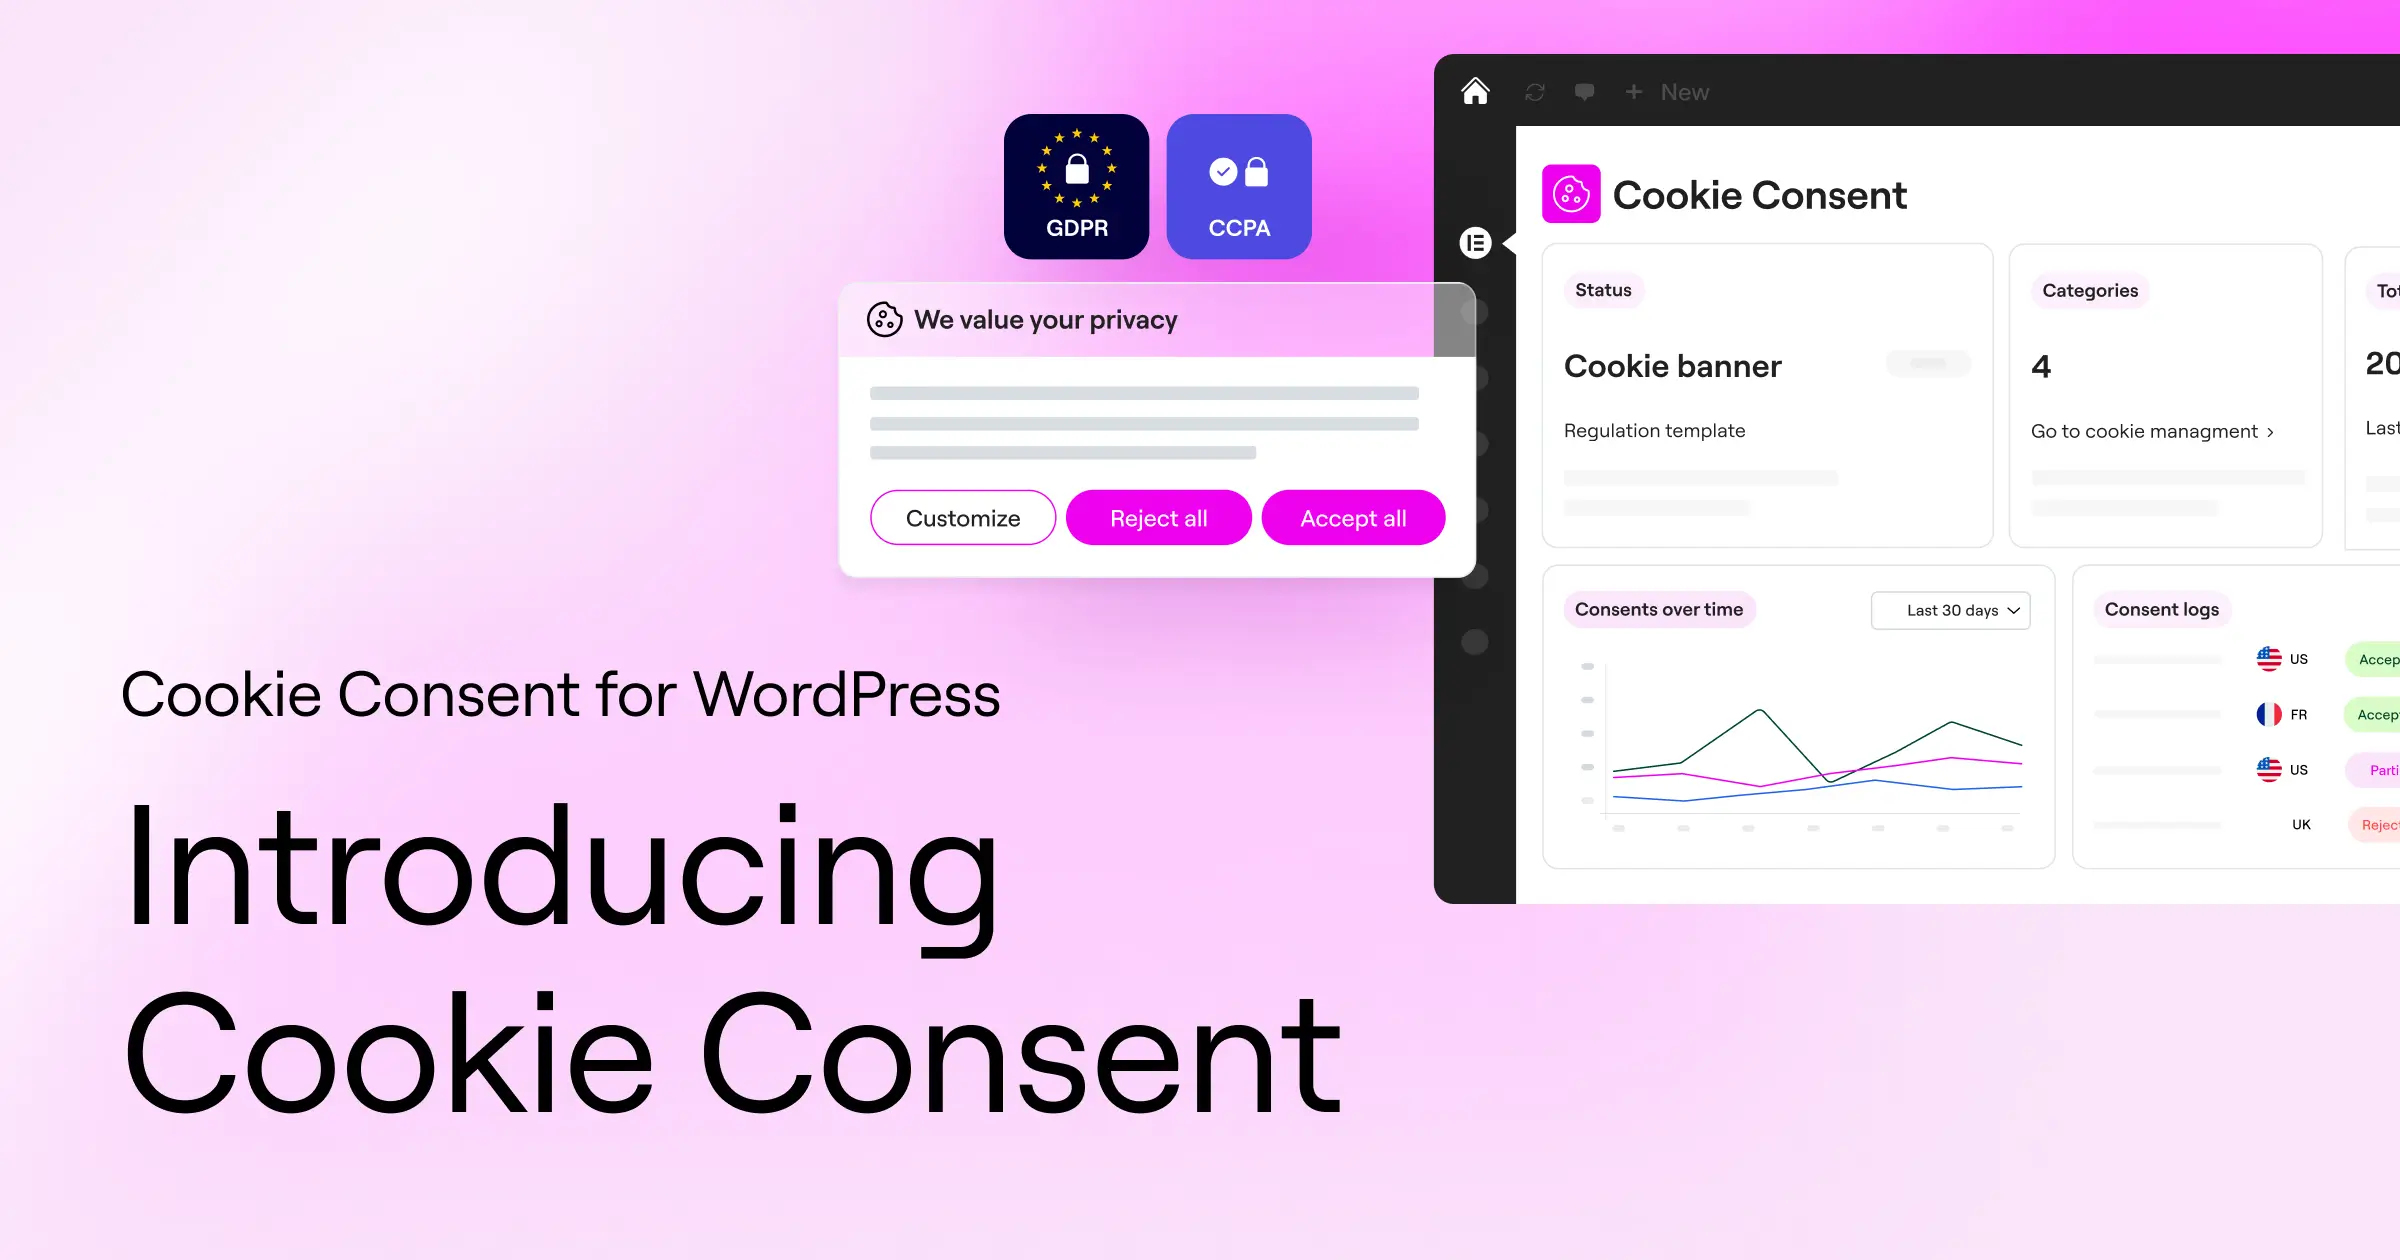
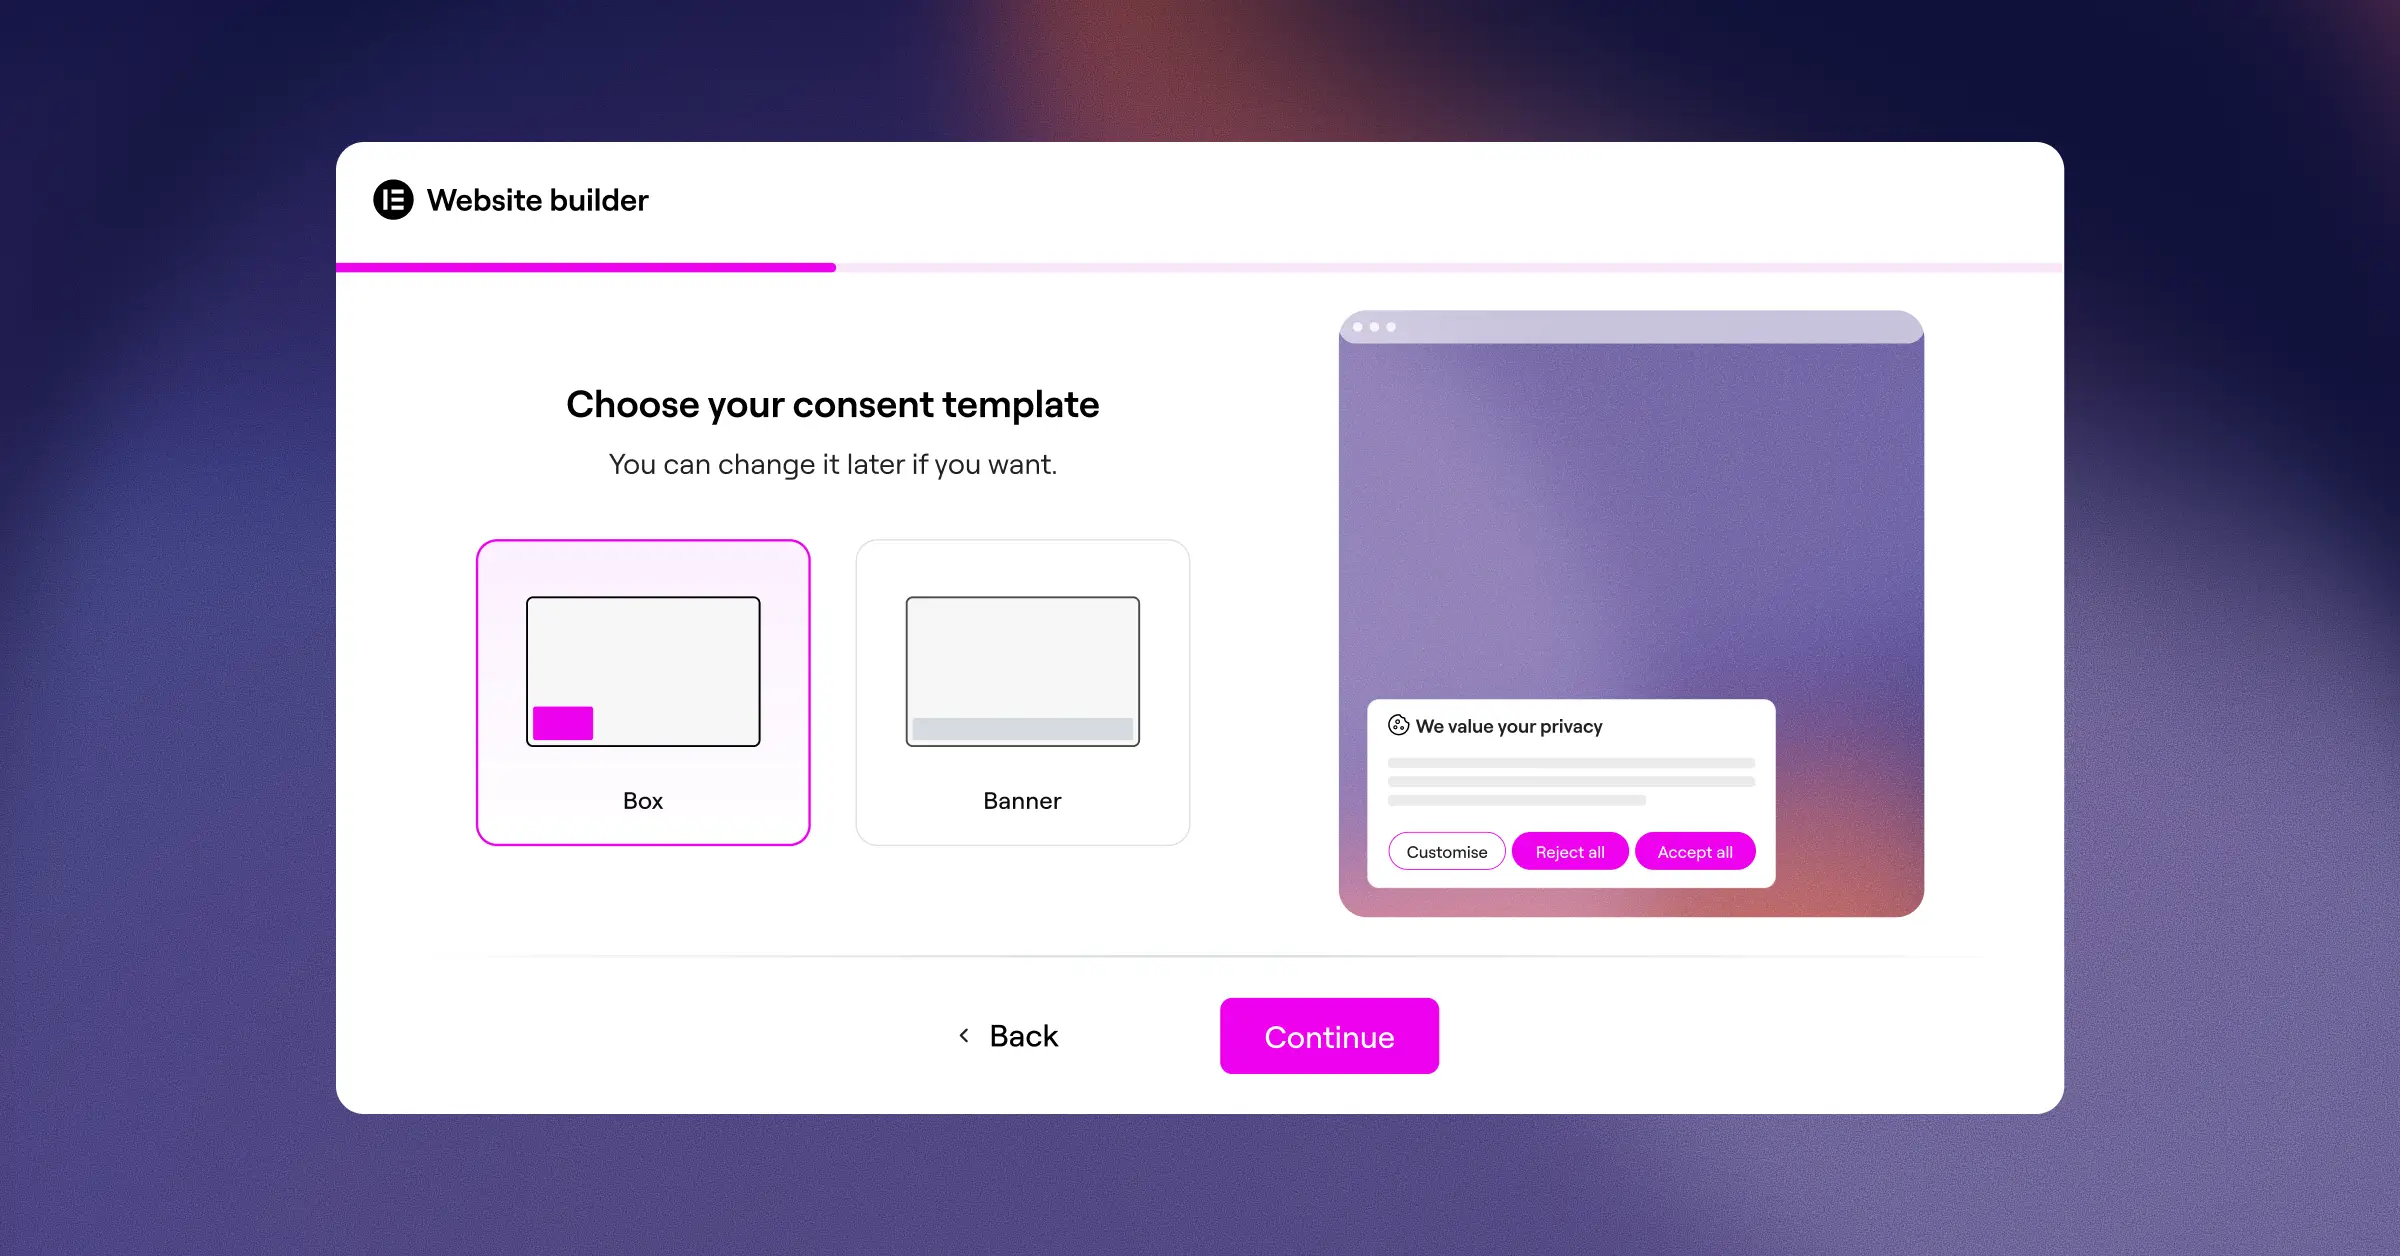
A tool built directly into your WordPress dashboard is the better path. The Elementor Cookie Consent capability is a good example, a native feature that handles banners, scans cookies, manages scripts, and keeps consent logs in one place, right inside Elementor, no jumping between sites or pasting in complex code.
Why Native Integration Wins
- Eliminates the need to log into multiple external platforms.
- Prevents database clutter by working in harmony with WordPress core.
- Cuts setup time to a fully working banner in under five minutes.
- Saves money, since it’s included in your existing Elementor plan, and there’s a free tier to start with.
Going native means you’re never at the mercy of a third-party outage. It stays secure, fast, and under your control.
Practice 2: Enable Google Consent Mode v2 Correctly
If you run Google Analytics, Tag Manager, or Google Ads, this one matters. Google Consent Mode v2 passes your visitors’ privacy choices straight to Google’s services. Decline cookies, and Google’s tags send cookieless pings instead, so you still gather basic, anonymous data without breaking privacy law.
Setting this up used to be a headache, but a modern tool makes it easy: just make sure your banner supports the standard natively. (It’s simpler than it sounds, especially with a built-in switch for Consent Mode v2.)
How to Implement Consent Mode v2
- Select a compatible tool like Cookie Consent, with built-in support for Google’s latest standards.
- Activate the integration with a single click in your dashboard settings.
- Map your scripts so Analytics and Ads tags wait for consent signals before firing.
This protects your ad accounts from getting restricted. Google requires it for any site using its ad services to reach audiences in the UK and the European Economic Area.
Practice 3: Implement Automated Cookie Scanning
You can’t ask for consent for things you don’t know exist. Plenty of WordPress sites run dozens of plugins, and many drop cookies without saying so. Keep a manual list and you’ll almost certainly miss something, since cookies change whenever a plugin updates.
That’s why automated scanning matters. A solid cookie consent feature scans your whole site regularly, finds every cookie, and sorts them into categories automatically:
- Strictly Necessary cookies that keep your site running, like holding cart items.
- Analytical cookies that show you how visitors use your pages.
- Marketing cookies that track users across sites for relevant ads.
- Functional cookies that remember preferences, like language or video settings.
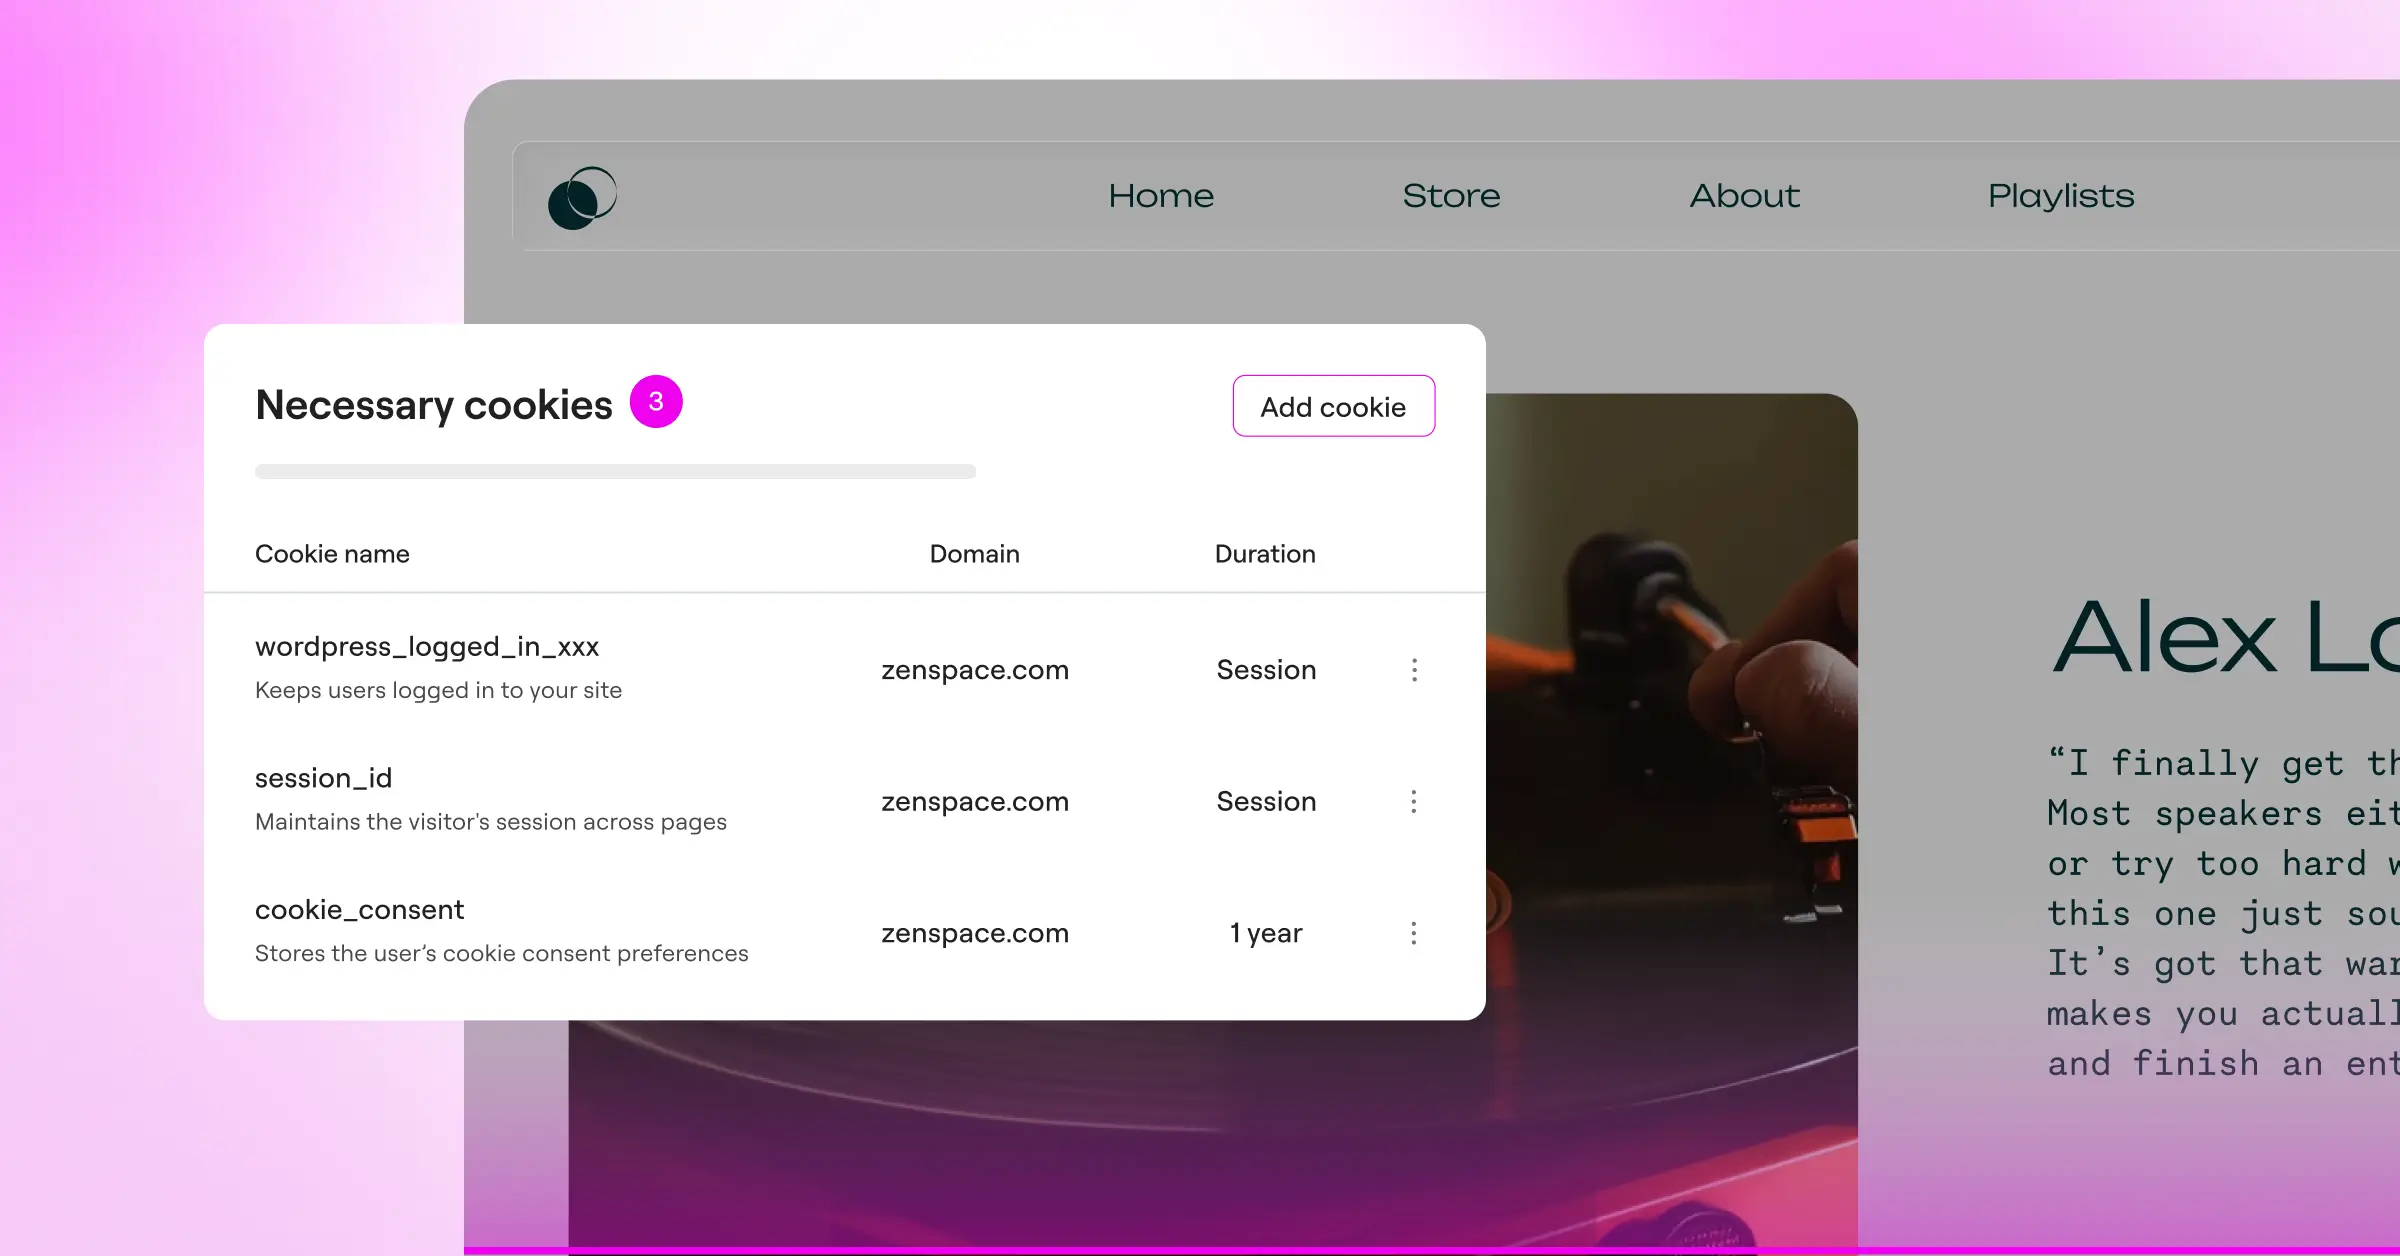
Automating this keeps your list accurate without the tedious manual checks.
“Keeping compliance simple is the best way to ensure it actually gets done. WordPress-native tools reduce the friction of managing privacy rules so you can focus on building your brand.”
– Itamar Haim, Web Compliance Specialist
Practice 4: Use Geo-Targeting to Keep Your Site Friendly
Not every visitor answers to the same privacy laws. Someone in France is protected by the GDPR’s strict opt-in rules; someone in Texas or Australia works under very different expectations. Show everyone the same large, restrictive banner and you risk hurting your conversion rates for no good reason.
Geo-targeting solves this neatly. It shows different consent banners depending on where your visitor is: a strict, explicit opt-in banner for the European Union, a lighter notice or none at all for regions without active cookie laws.
Geo-Targeting Implementation Steps
- Enable location detection within your consent management tool.
- Configure regional rules to separate EU visitors from everyone else.
- Customize the banner copy to match each region’s specific legal requirements.
- Test your site using a VPN to confirm the right banner shows up for different countries.
This keeps your site fast and respectful of local regulations, without showing compliance warnings to visitors who don’t need to see them.
Practice 5: Design a Clear and Non-Intrusive Banner
Your cookie banner is often the first thing a new visitor notices. Look out of place or cover the screen, and people leave. The goal is a banner that feels like part of your brand while staying compliant.
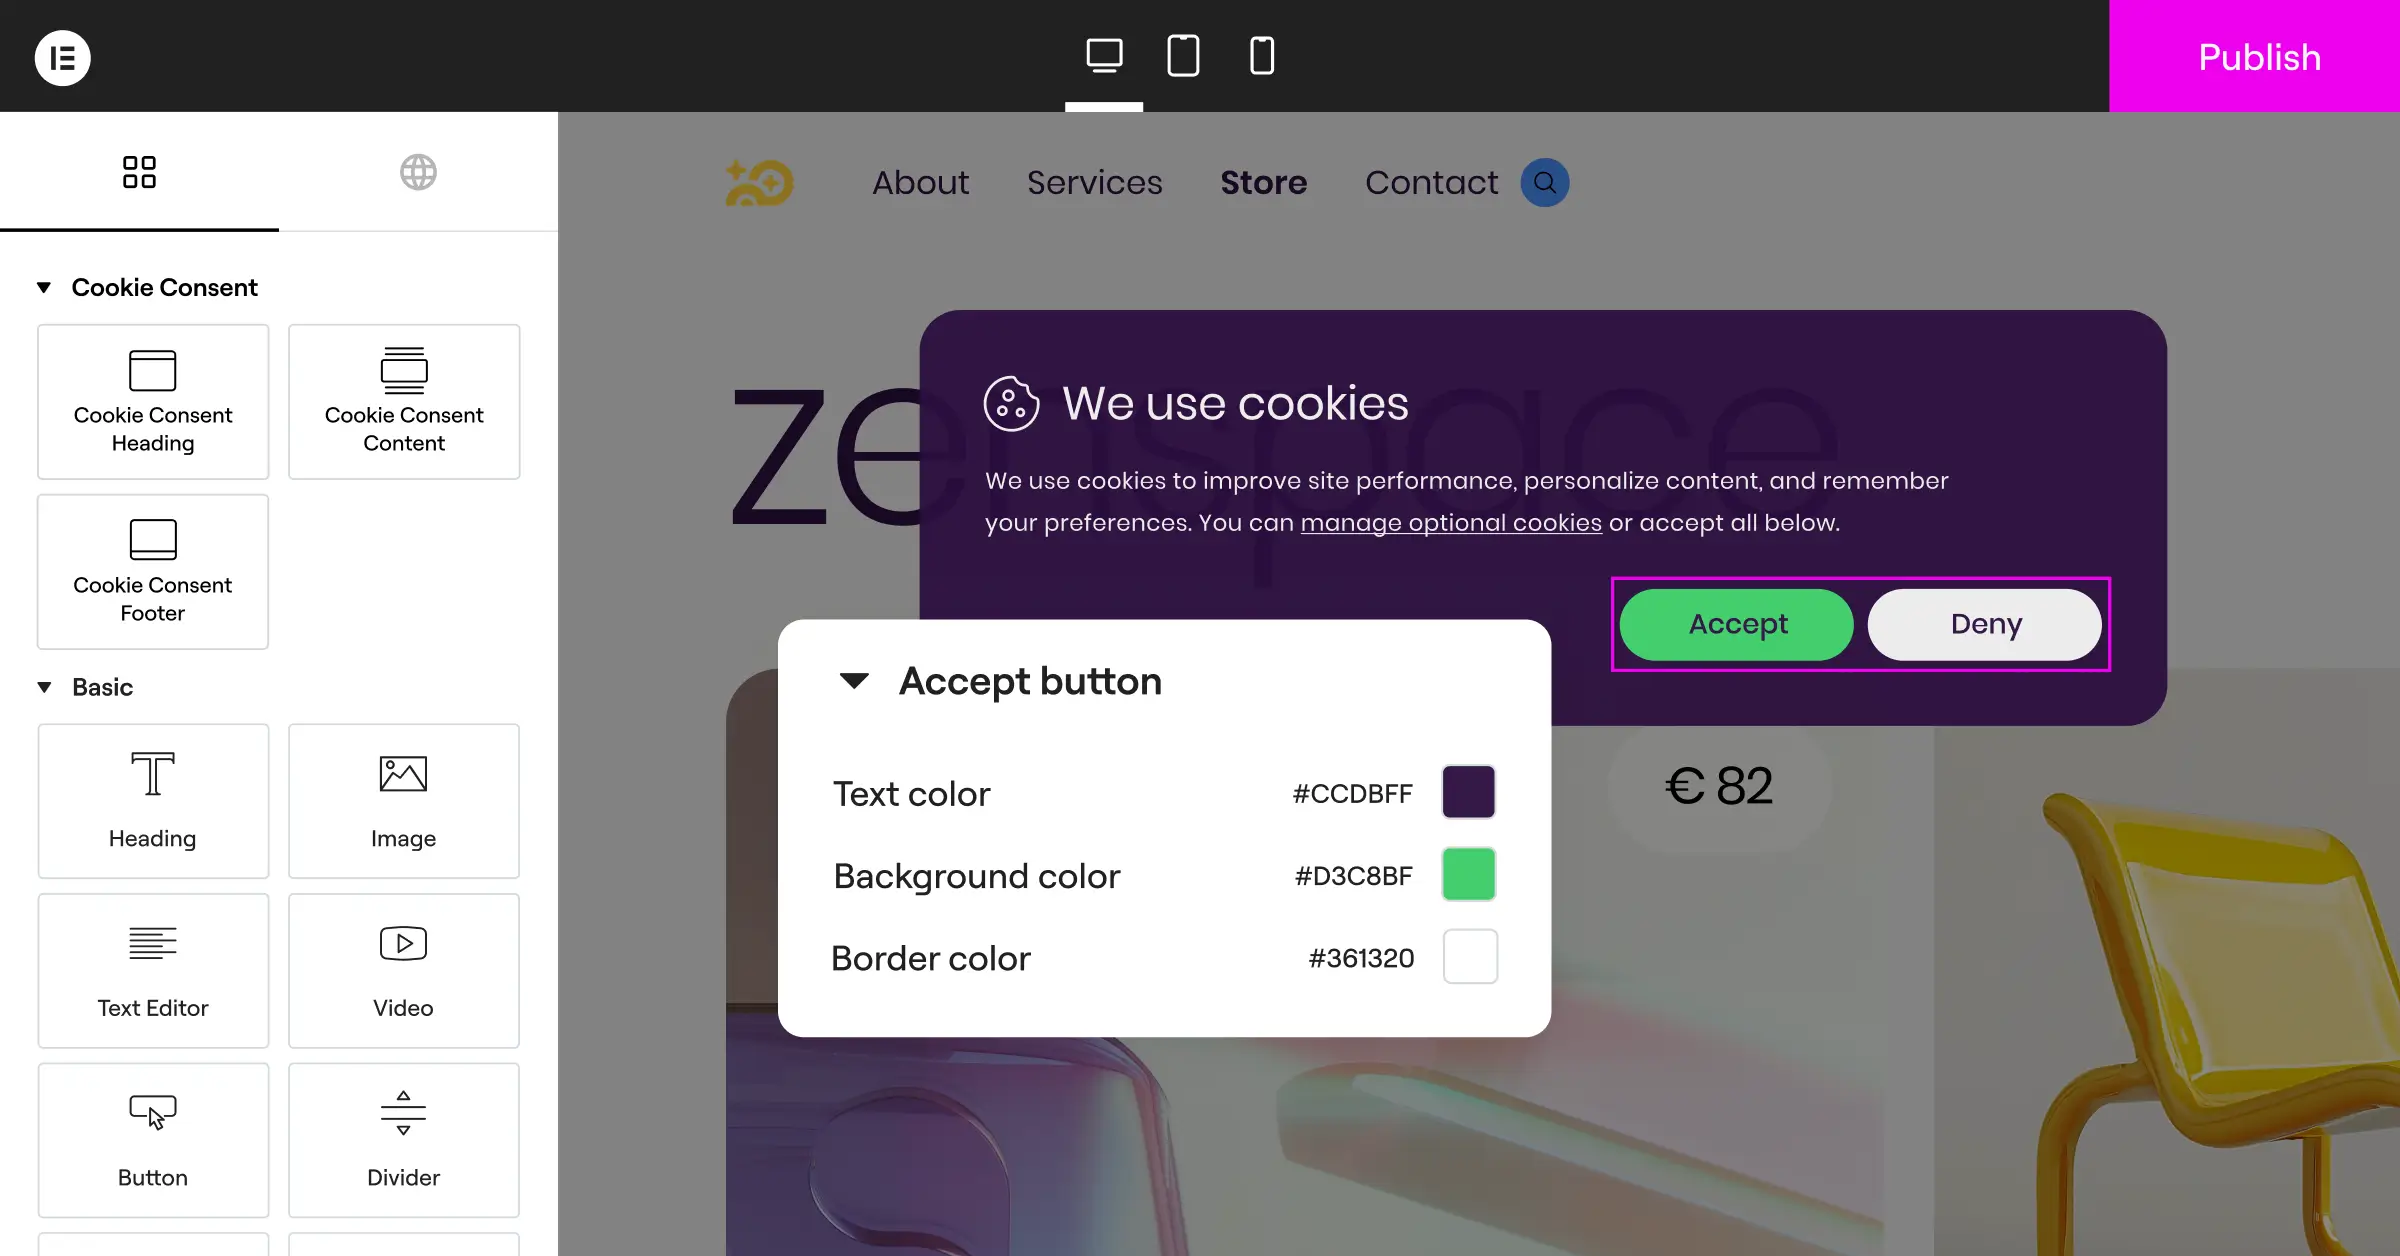
Use a design tool that works inside your page builder. Because Cookie Consent runs inside Elementor, you get cloud-based templates that already look polished: change colors, match typography, and place the banner wherever it fits.
Key Banner Design Rules
- Avoid dark patterns, like a bright “Accept” button next to a tiny, hard-to-read “Reject.”
- Use high contrast so visitors with visual impairments can read your options and choose easily.
- Keep it mobile-friendly so the banner doesn’t break on small screens or block key navigation links.
- Match your brand palette to make the banner feel trustworthy and part of your site.
A professional-looking banner earns trust, and visitors are far more likely to opt in to analytical cookies.
Practice 6: Maintain Secure Consent Logs for Audits
Under regulations like the GDPR, the burden of proof sits with you, the website owner. If a regulator gets a complaint, you need to show a specific user actually consented before you tracked them. Saying “our site has a banner” isn’t enough.
Consent logs are secure, anonymous records of when a visitor made a choice, what they selected, and which banner version they saw. They shouldn’t store personal data themselves, just randomized, anonymous identifiers linking a session to a choice. Keeping them inside your WordPress database makes them easy to export for an audit.
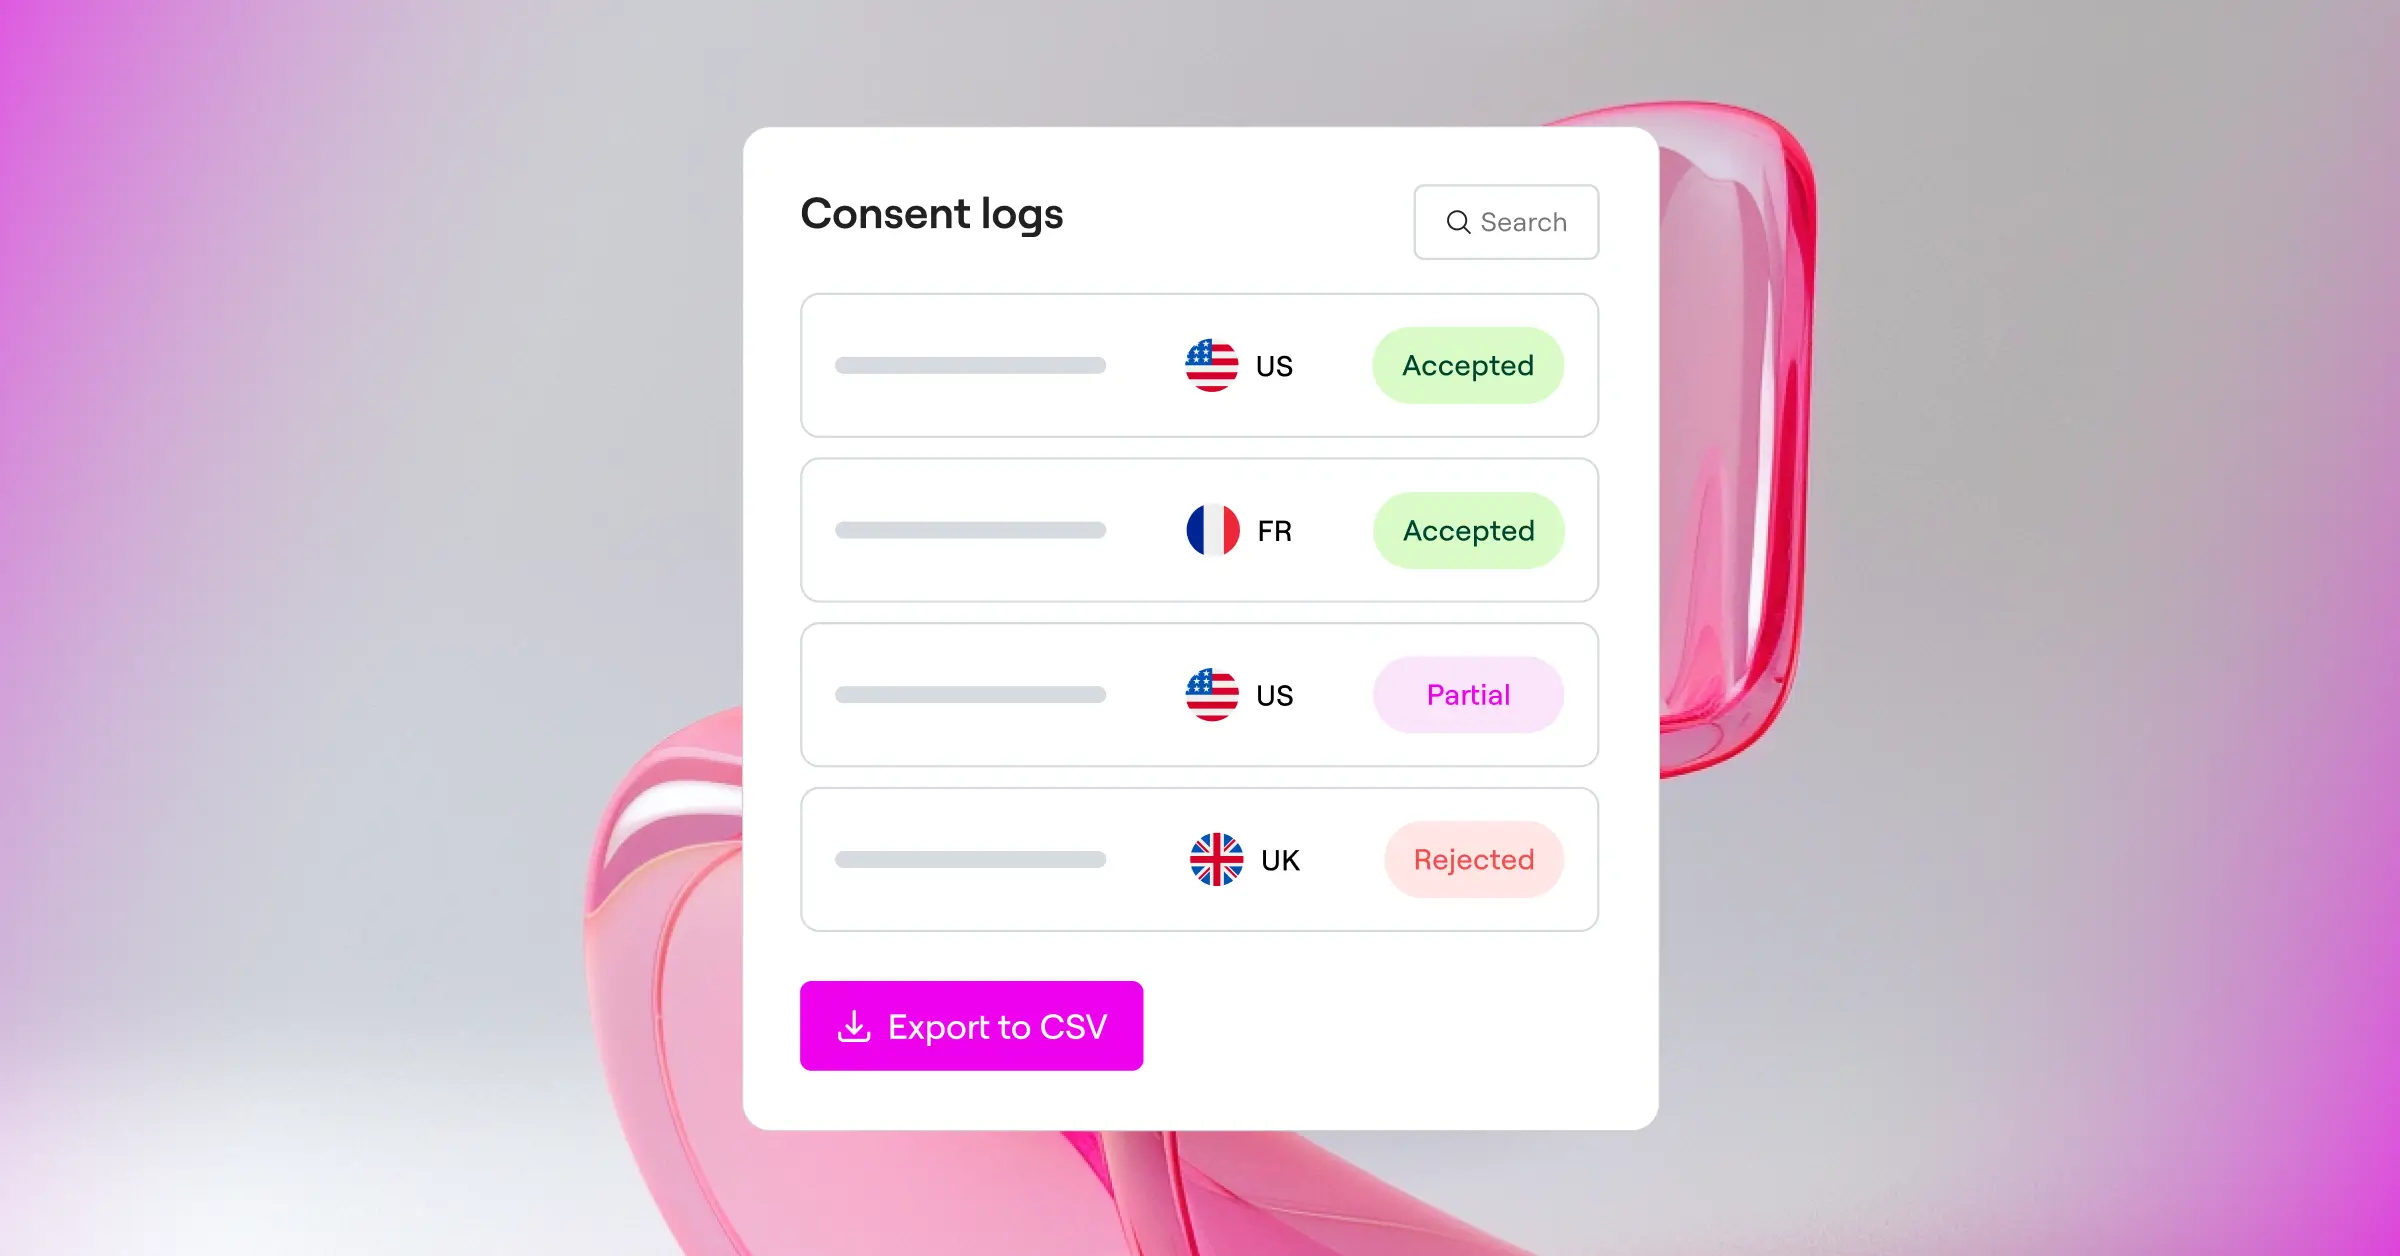
A native tool skips the cost of external logging databases, keeping your site ready for official inquiries while your data footprint stays clean and light.
Practice 7: Support Global Privacy Control (GPC)
Plenty of modern browsers and extensions now include a setting called Global Privacy Control (GPC). Turn it on, and the browser tells every site you visit that you don’t want to be tracked or have your data sold. Various US state laws require sites to respect this signal.
Your cookie consent tool should pick up this signal the moment a page loads, and automatically opt the user out of marketing cookies, no extra clicks needed.
How to Check for GPC Support
- Verify the setting in your cookie consent dashboard to confirm GPC detection is active.
- Test the integration using a browser like Brave, or an extension like DuckDuckGo Privacy Essentials.
- Confirm that tracking tags are blocked automatically once the GPC signal is detected.
Supporting GPC shows your audience that you genuinely value their privacy, and it keeps your business ahead of evolving state-level privacy laws.
Practice 8: Give Visitors an Easy Way to Revoke Consent
Consent isn’t a one-time, permanent decision. A visitor who agrees to your cookies on Monday needs to be able to change their mind by Wednesday, just as easily. The law is clear on that.
A lot of site owners overlook this detail, which leaves them open to complaints. Give people a clear, accessible way to reopen their cookie settings: a small, floating privacy badge in the corner of the screen, or a simple footer link labeled “Cookie Preferences.”
Steps to Create a Smooth Revocation Experience
- Add a sticky trigger button that stays visible but out of the way of your main content.
- Include a footer link on every page of your site as a backup option.
- Open the cookie settings modal instantly when clicked, so visitors can toggle individual categories on or off with ease.
Make changing preferences simple and you’ll cut down on frustration while building long-term trust, even for visitors who rarely use the option.
Practice 9: Set Up a Dynamic Cookie Policy Page
A banner is only the first step. You also need a dedicated Cookie Policy page explaining what cookies run on your site, why, and who operates them, in plain language anyone can follow.
Skip the expensive lawyer and look for a tool with a built-in policy generator. Cookie Consent builds this policy from the actual cookies found during your scans. Because it’s built inside the Elementor ecosystem, you can style the page to fit your brand without touching code.
What Your Cookie Policy Must Include
- Lists every cookie active on your website, grouped by category.
- Explains the purpose of each cookie in plain language, for example, “this cookie keeps track of your session.”
- Shows the expiration date of each cookie, so visitors know how long it stays on their device.
- Walks visitors through how to block or delete cookies through their browser settings.
Keeping this page updated automatically means you never show outdated information to visitors or regulators.
Practice 10: Run Regular Compliance Tests
Once your system is set up, don’t just forget it. New plugins, tracking pixels, or theme updates can quietly bypass your banner and start dropping cookies before visitors say yes or no.
Regular testing is the only way to stay confident your site remains compliant. Check your cookie behavior at least once a quarter, or after any major page changes.
A Simple Testing Checklist
- Open an incognito window in your browser to start with a completely clean slate.
- Open your browser’s Developer Tools (press F12 or right-click and select “Inspect”).
- Navigate to your site and check the “Application” or “Storage” tab to see if any non-essential cookies are set before you interact with the banner.
- Click “Reject All” and confirm that no tracking scripts have run.
- Click the consent badge to change your settings, choose “Accept All,” and confirm that your analytical and marketing tags now fire correctly.
This quick check keeps your compliance solid and gives you real peace of mind.
Comparing WordPress-Native and External Consent Tools
Here’s a factual look at managing compliance inside WordPress versus using third-party systems. The table below compares native options to popular external services like Cookiebot, CookieYes, Complianz, iubenda, and OneTrust.
| Feature / Capability | Cookie Consent (Native) | External Script Tools (e.g., Cookiebot, CookieYes) | Heavy Compliance Suites (e.g., OneTrust, iubenda) |
|---|---|---|---|
| Dashboard Location | Inside WordPress Admin | External cloud platform | External enterprise portal |
| Setup Time | Under 5 minutes | 15 to 30 minutes | Several hours to days |
| Visual Styling | Visual builder matches brand | Limited styling or custom CSS | Strict templates, complex CSS |
| Google Consent Mode v2 | Built-in, native support | Supported via manual scripts | Supported via enterprise config |
| Database Impact | Zero external network calls | Requires external script loading | Heavy external script load |
| GDPR & CCPA Support | Yes, with geo-targeting | Yes | Yes |
Keeping your compliance tools native means skipping the recurring bills and complicated setup that come with enterprise-level external services, a practical way for growing sites to stay safe.
Frequently Asked Questions
Is cookie consent really necessary for a small personal blog?
Yes. The GDPR protects users based on where they live, not where your business is based. European readers plus tools like Google Analytics means you’re legally required to give them a choice about their data.
What happens if I don’t use a cookie consent banner?
You risk warning letters, compliance notices, or fines from regulators. Ad networks and platforms like Google may also restrict your tracking accounts if they detect invalid consent signals.
Can I just write my own cookie banner with basic HTML?
You can design the visuals yourself, but the backend is genuinely complex. A valid banner must block scripts until the user accepts, keep secure consent logs, and support standards like Google Consent Mode v2. A dedicated feature like Cookie Consent handles all of this automatically, much safer than building it from scratch.
Does a cookie consent tool slow down my website?
External tools that rely on third-party scripts can add loading delays because they force the browser to make extra requests to outside servers. A native tool runs directly on your own server, keeping your page speed fast and your database clean.
What is the difference between explicit and implicit consent?
Explicit consent means a user actively clicks a button like “Accept All” before you set cookies. Implicit consent assumes agreement just because someone scrolled the page or clicked a link. In 2026, implicit consent isn’t valid under strict frameworks like the GDPR.
Do strictly necessary cookies require consent?
No. You don’t need permission for cookies vital to your site’s function, like keeping a user logged in, securing forms against spam, or holding cart items. You only need consent for non-essential cookies like analytics, tracking pixels, and advertising tags.
How does geo-targeting help my conversion rates?
Geo-targeting lets you show strict, full-screen banners only to visitors in regions with strict laws like the EU. Visitors from areas with lighter regulations see a minimal notice or no banner at all, keeping things frictionless for most of your audience and protecting your conversion rates.
How often should I scan my website for new cookies?
Aim for at least once a month. Since WordPress plugins update frequently, new cookies can appear without your knowledge. Regular automated scans keep your categorization accurate and your cookie policy page up to date.